How-To · Hanger Shots
Turn Hanger Shots Into a Full On-Model Collection
A hanger shot shows the garment. It doesn’t show who it’s for. Here’s how to close that gap — and how to take the hanger shot properly in the first place.
August 20, 2026 · 9 min read
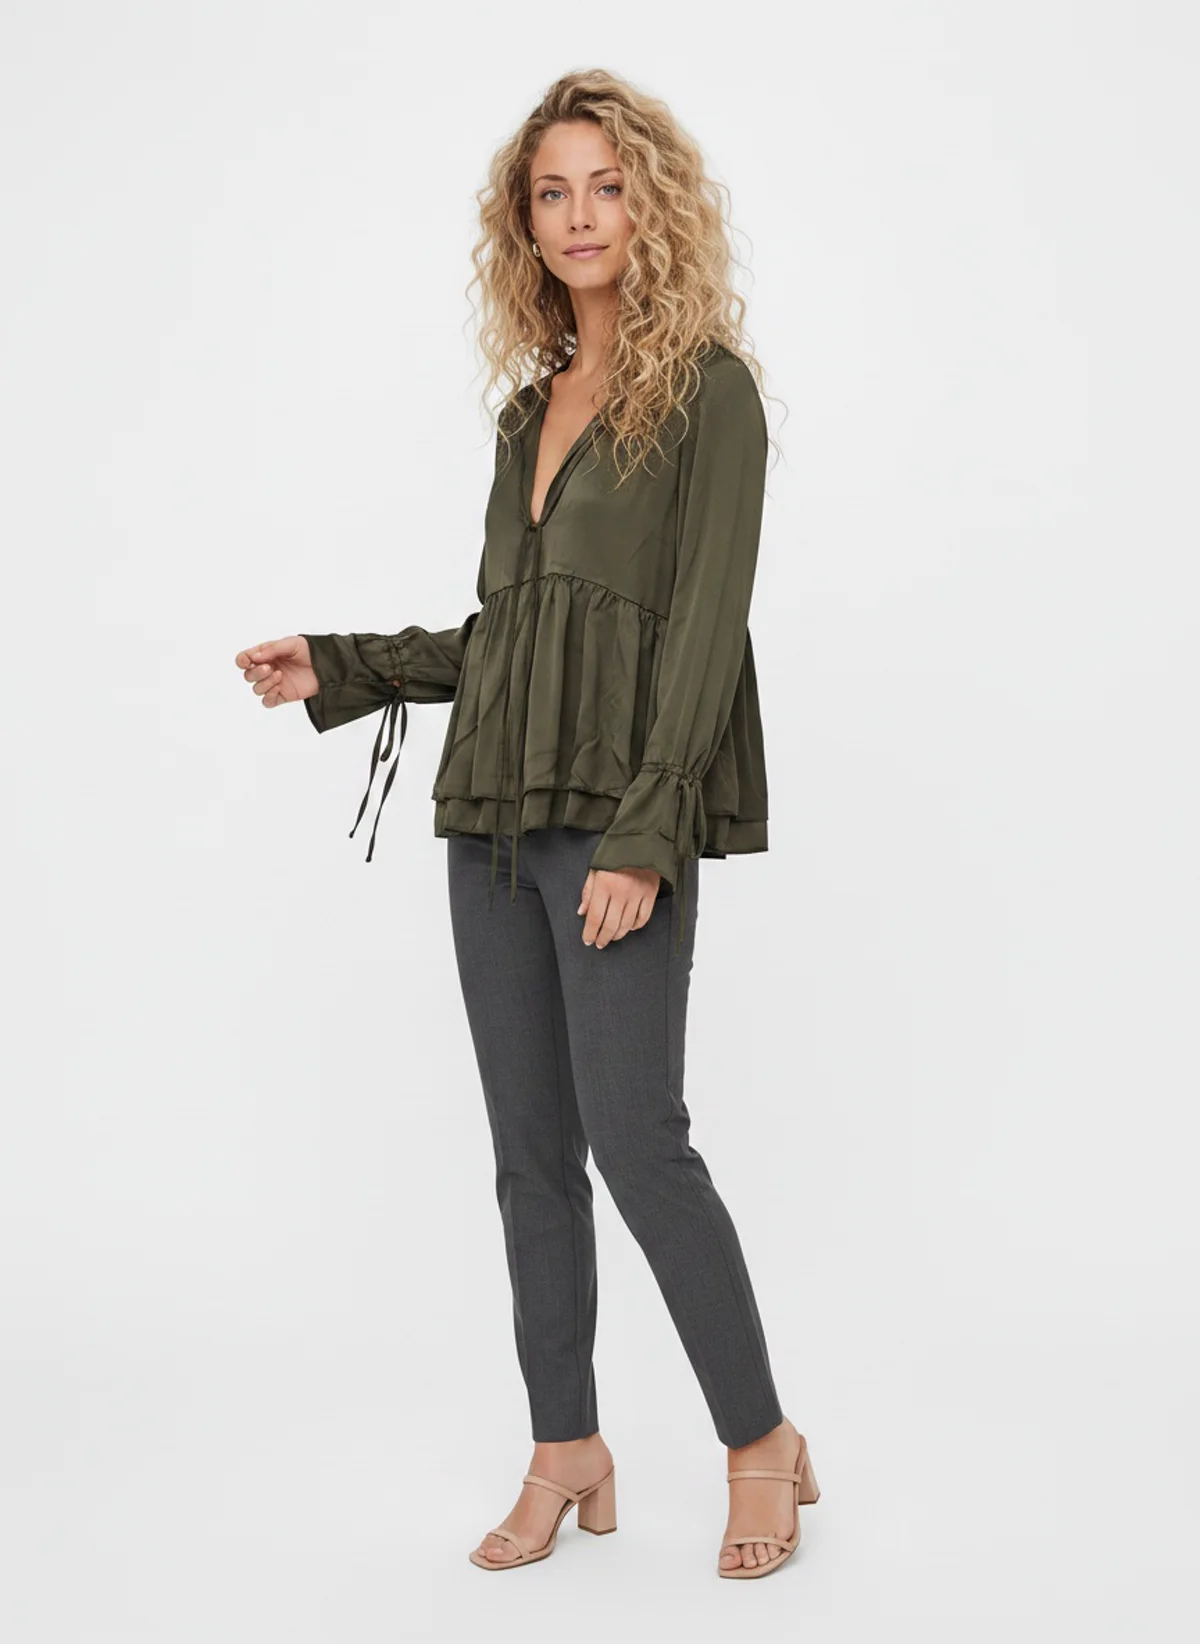
An hour ago this blouse was hanging on a shop wall. Same garment, same tie cuffs, now on someone the customer can picture herself as.
~50%
of apparel returns come down to fit and sizing
Antla
73%
higher add-to-cart from multi-angle model imagery
SellHound
10
catalog images per garment, for about a dollar
Your Rail Is Already Photographed
Most boutiques already have a folder of hanger shots. You take them because they’re quick: new stock arrives, it goes on a hanger against the back wall, you snap it for the website and move on. It’s the fastest way to get a product live, and for keeping track of what you’ve got, it’s perfect.
The trouble starts when that same photo has to sell. A garment on a hanger is a garment with nobody in it. It doesn’t say who wears this, what you’d put with it, or how it sits once it’s on. A shopper has to do all of that work in their head, and most won’t bother.
The gap isn’t the photo you took. It’s the one you didn’t. Below, eight pieces from the same shop wall go through MODA AI and come back on models, styled, from every angle — and then the practical bit: how to take a hanger shot worth generating from.
The Transformation
Front, Back, and Everything After
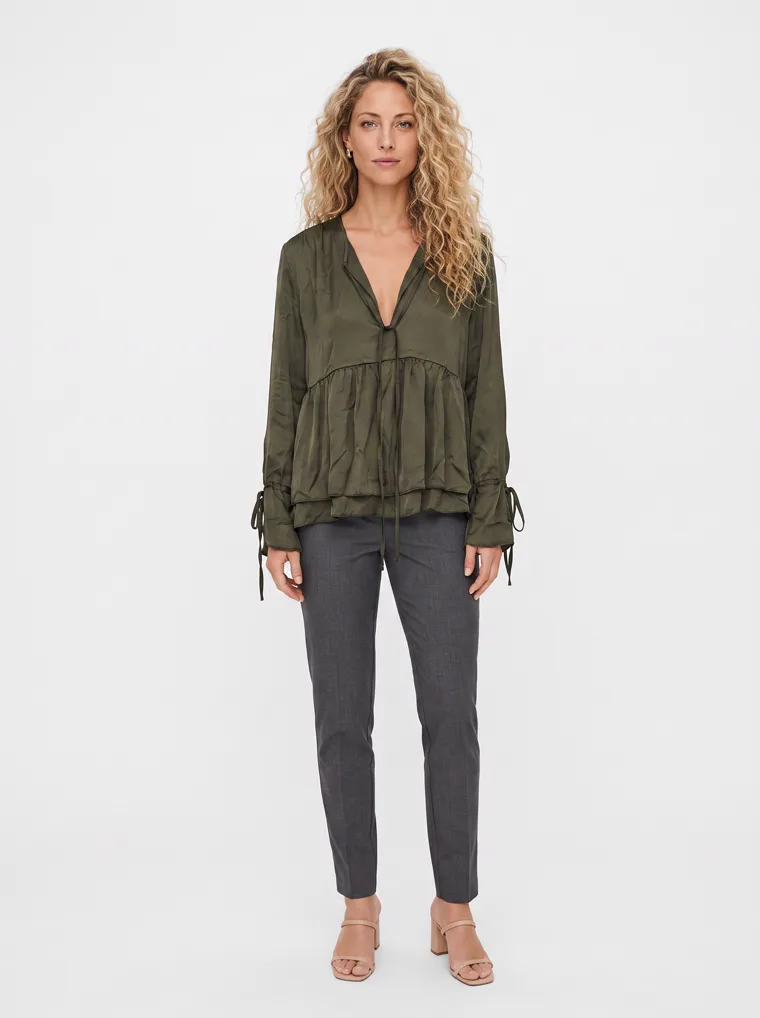
Here’s the olive blouse as it was photographed: on a wooden hanger, against a plain wall, front and back. That’s the whole input. Two photographs, taken in about a minute, no styling and no studio.
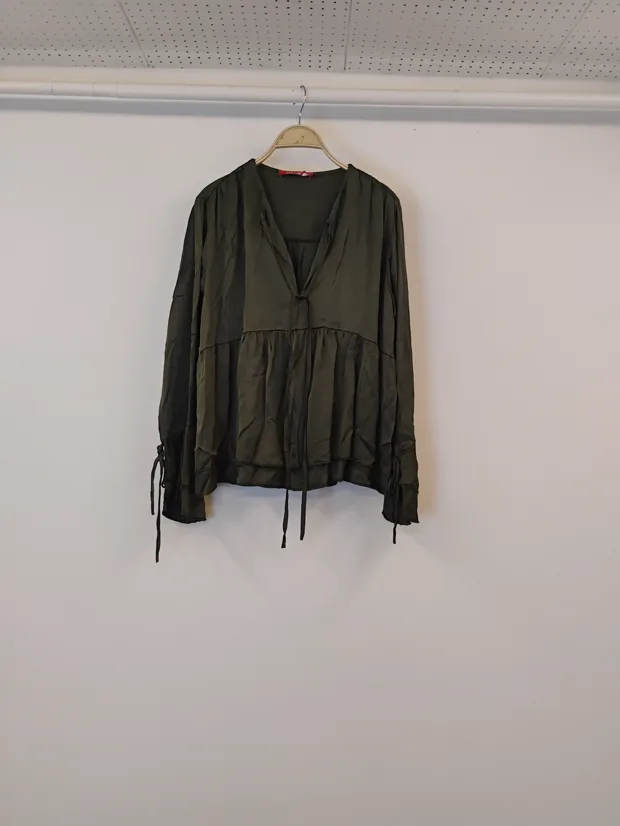
Hanger, front
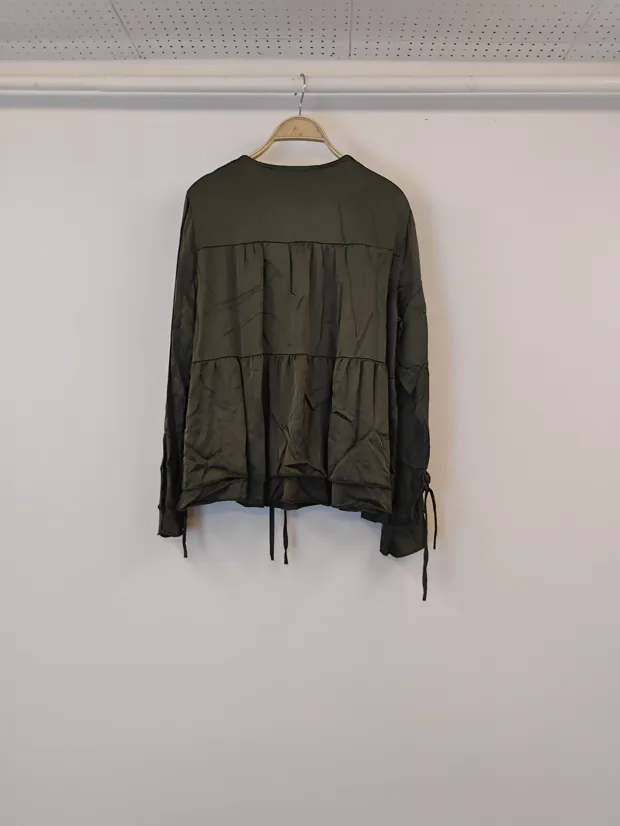
Hanger, back
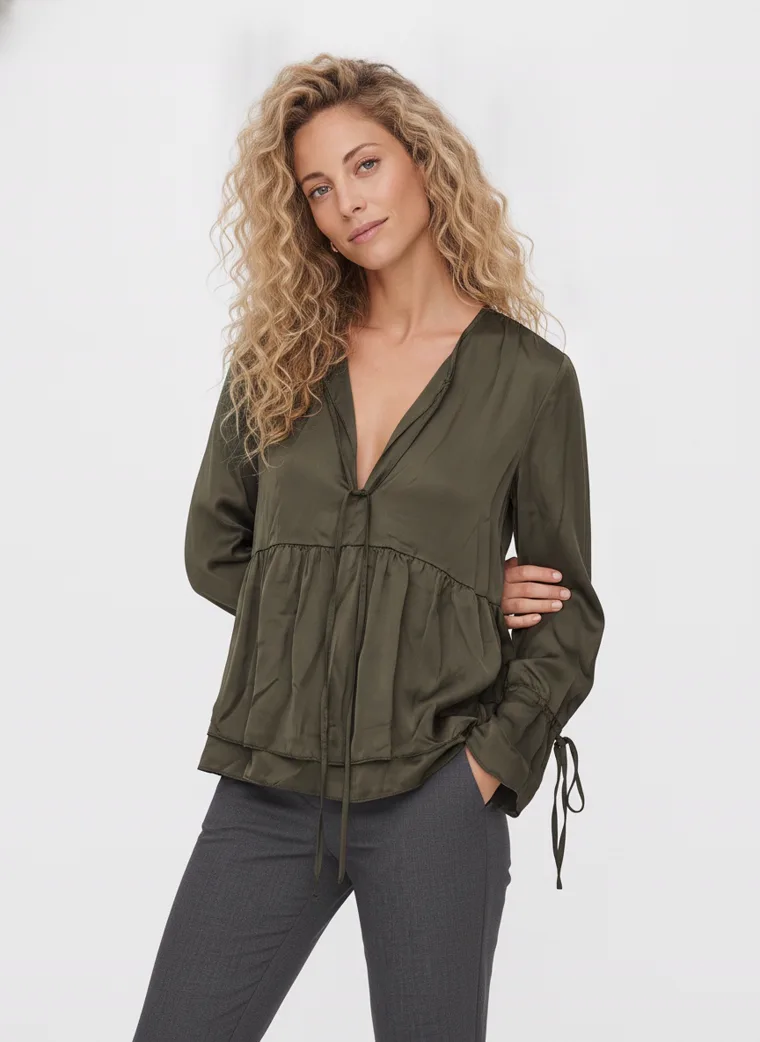
On model
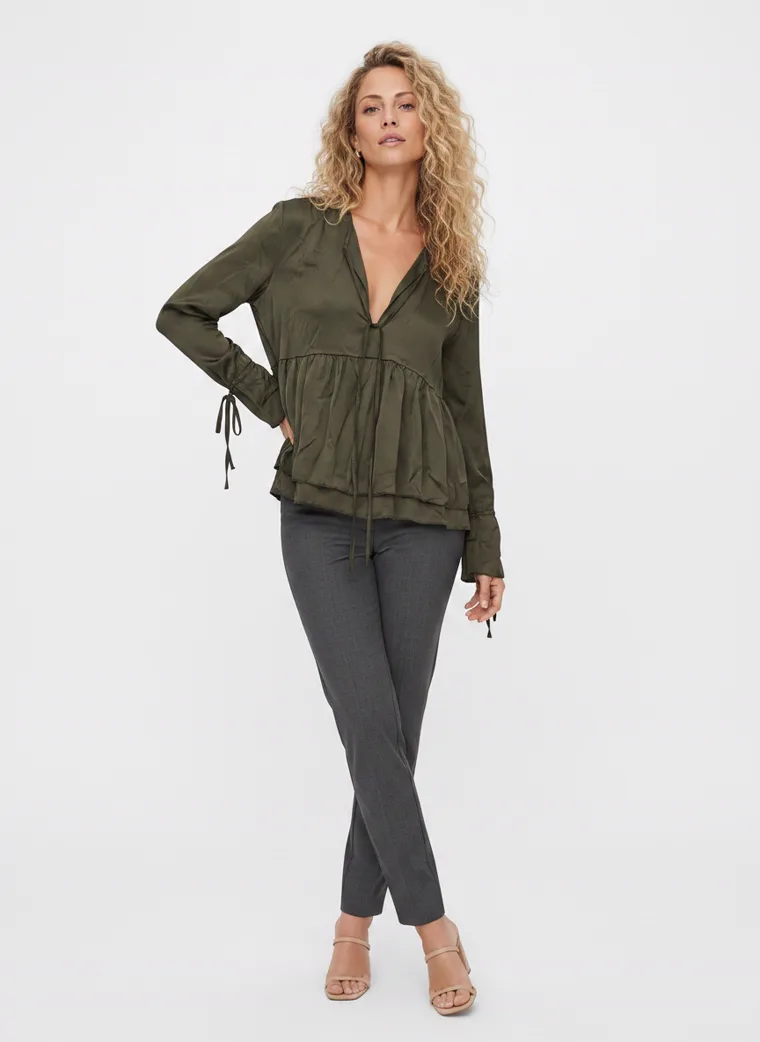
Cuff detail
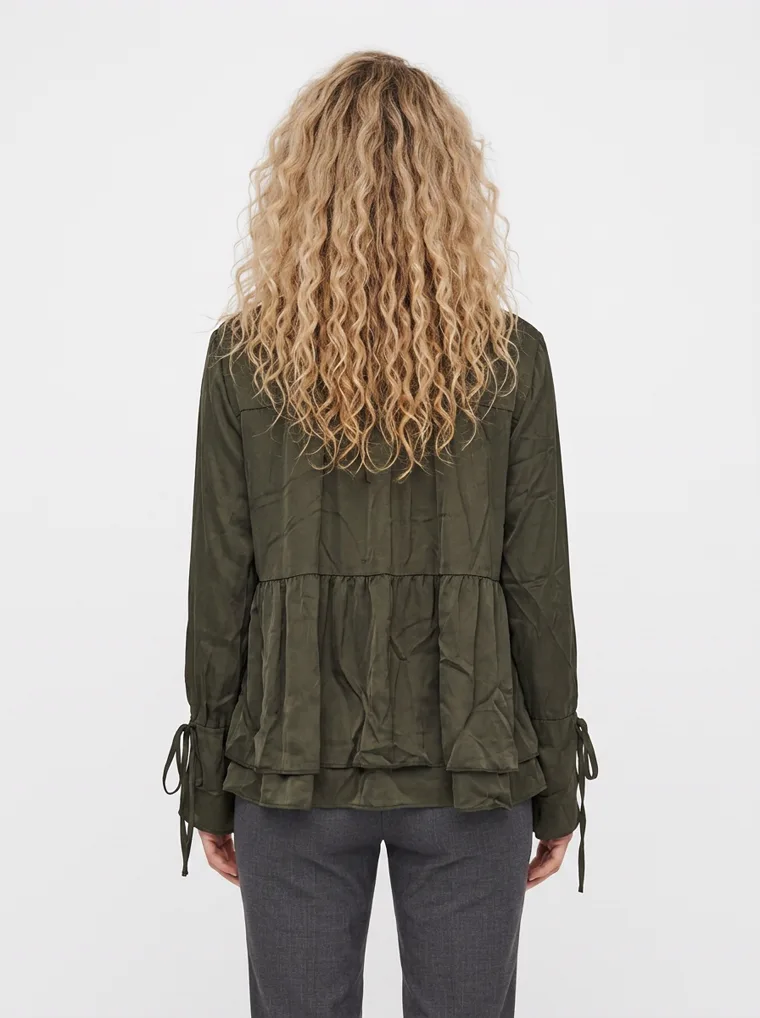
Back
Two hanger photographs in. The back view exists because the back was photographed — it wasn’t invented.
Why It’s Worth Doing
Put a Face to the Product
This is the one that matters most for a boutique. A blouse on a hanger is anonymous — it could be for anyone, which in practice means it reads as for no one. Put it on a person and the shopper immediately knows whether the shop is talking to her. You choose that person: MODA takes a face reference, so the model can look like your actual customer rather than a generic twenty-two-year-old.
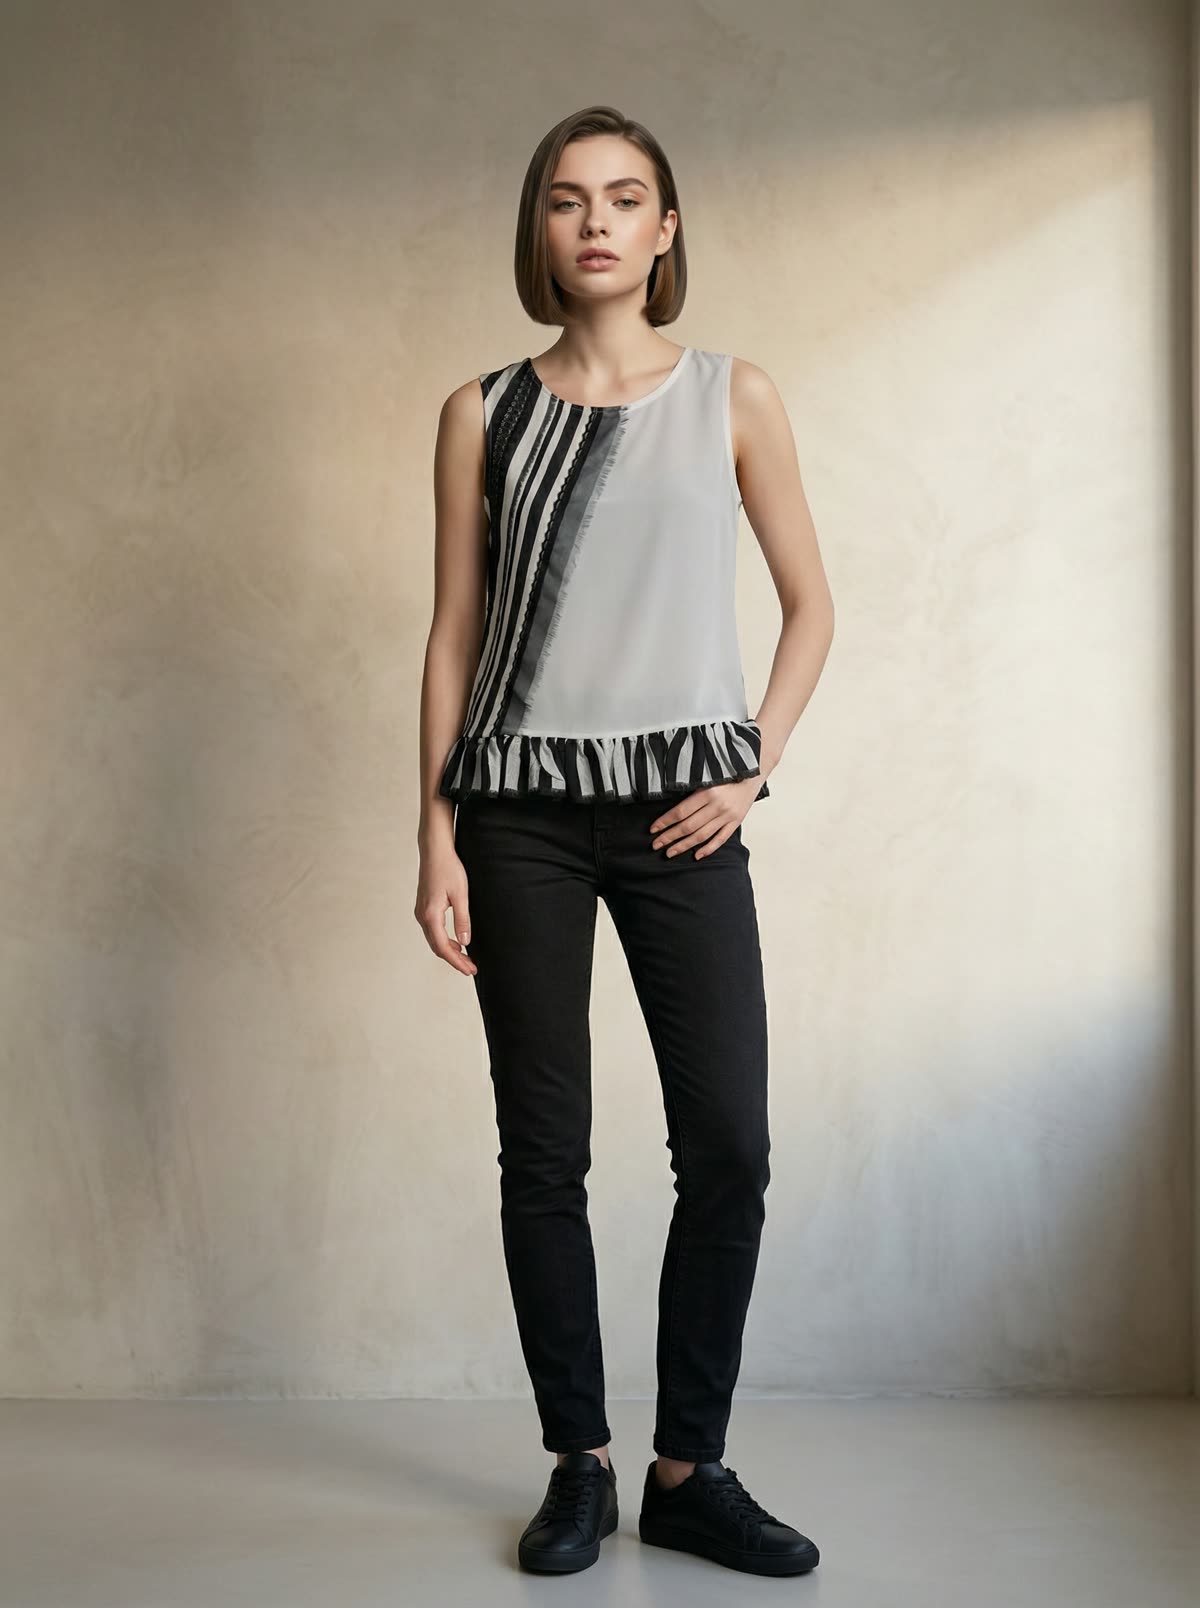
Every piece below came off the same shop wall. The knitwear is shown on a younger woman, the boutique blouses on women the pieces are actually cut and priced for. Same workflow, different customer in mind, and the hanger shot that produced each one sits right next to it.
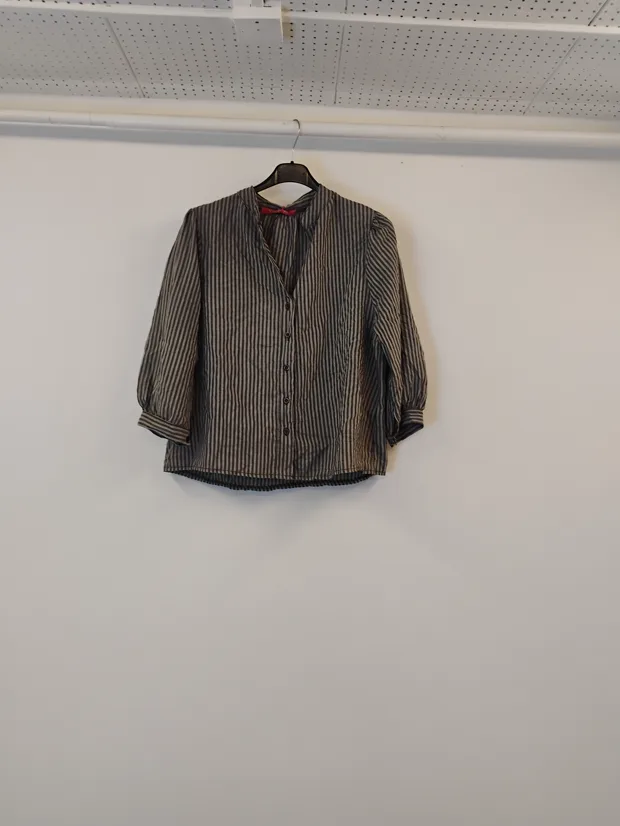
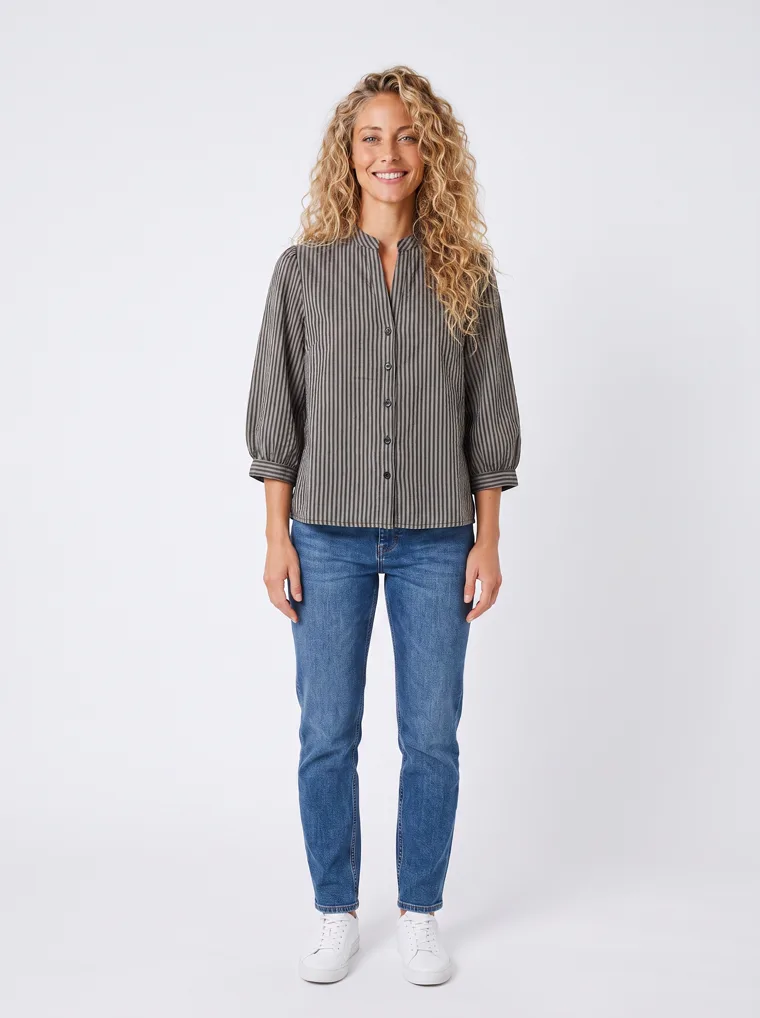
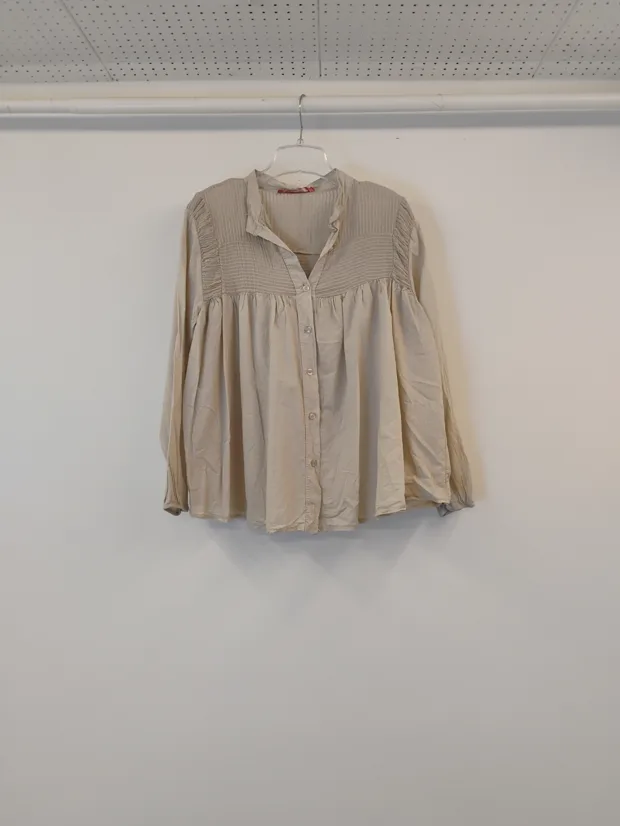
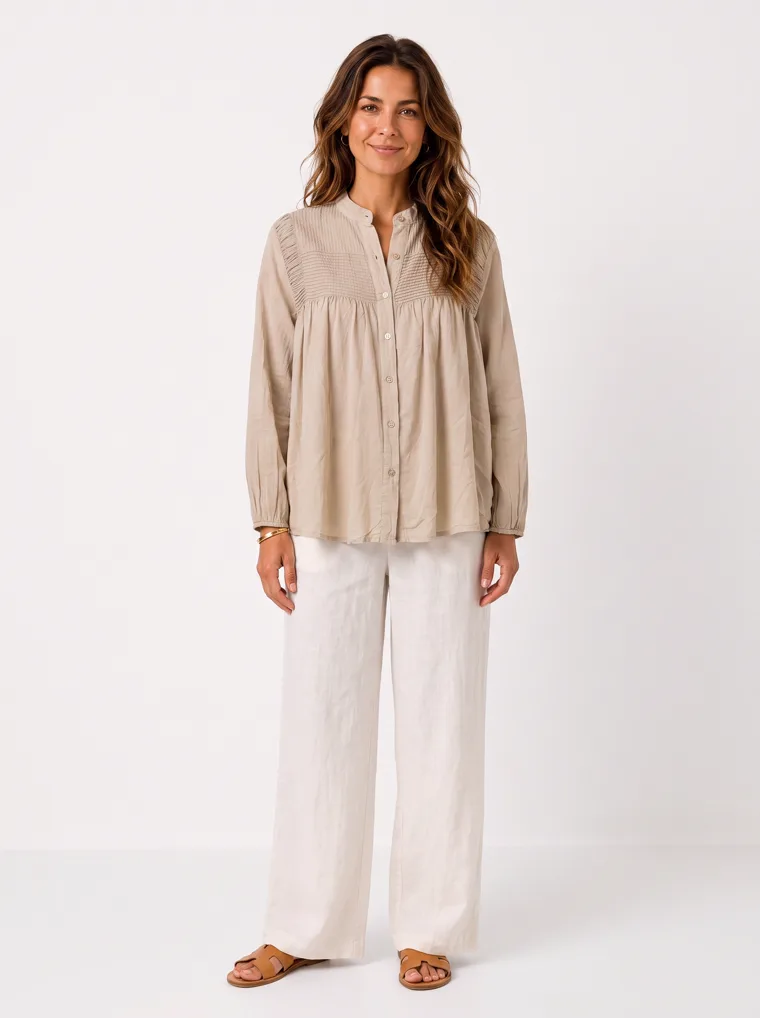
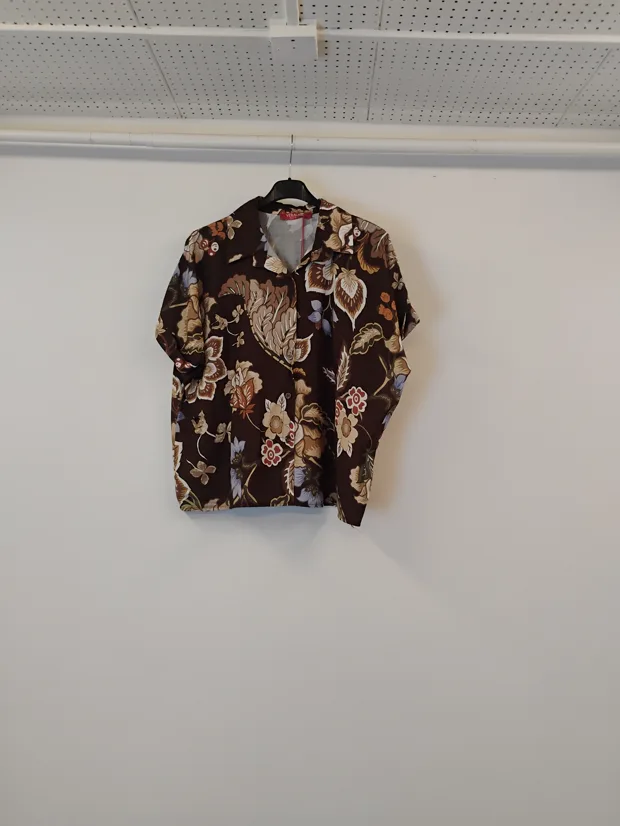
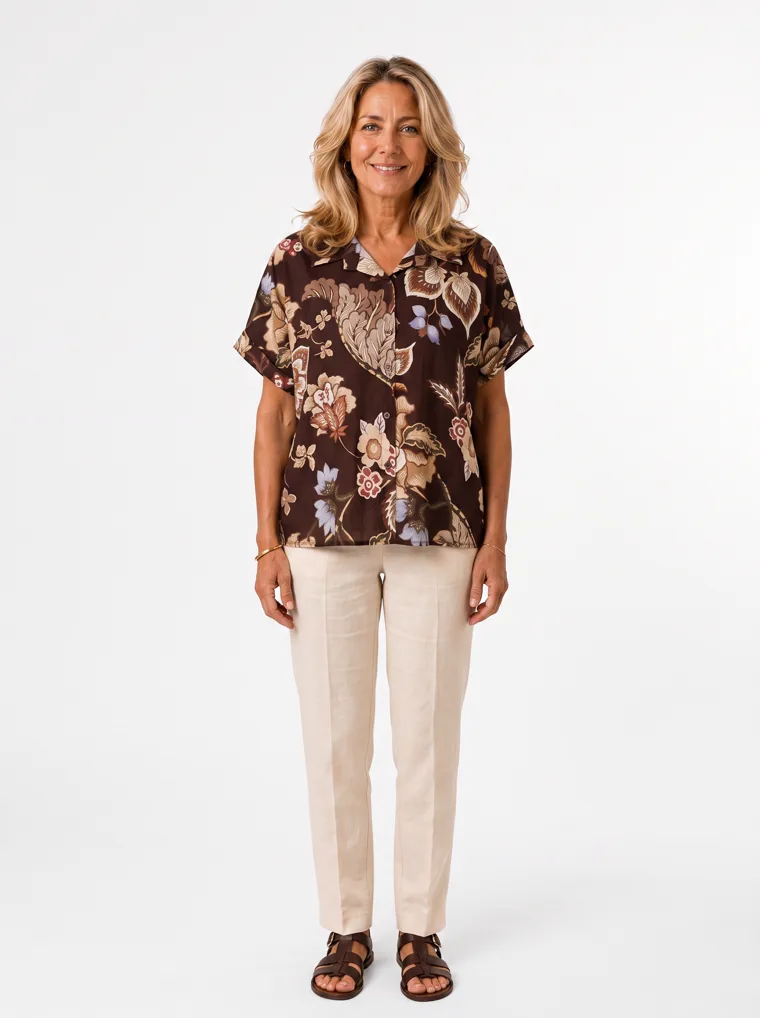
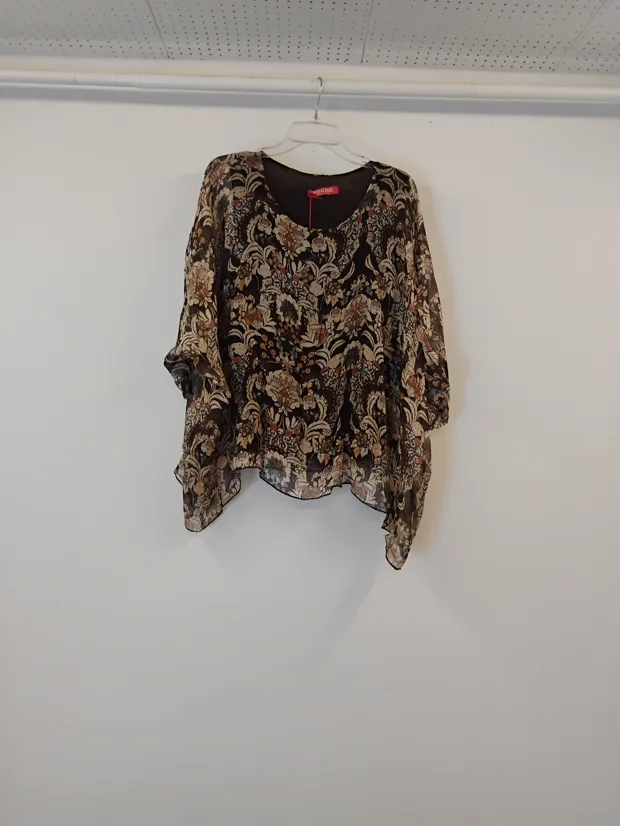
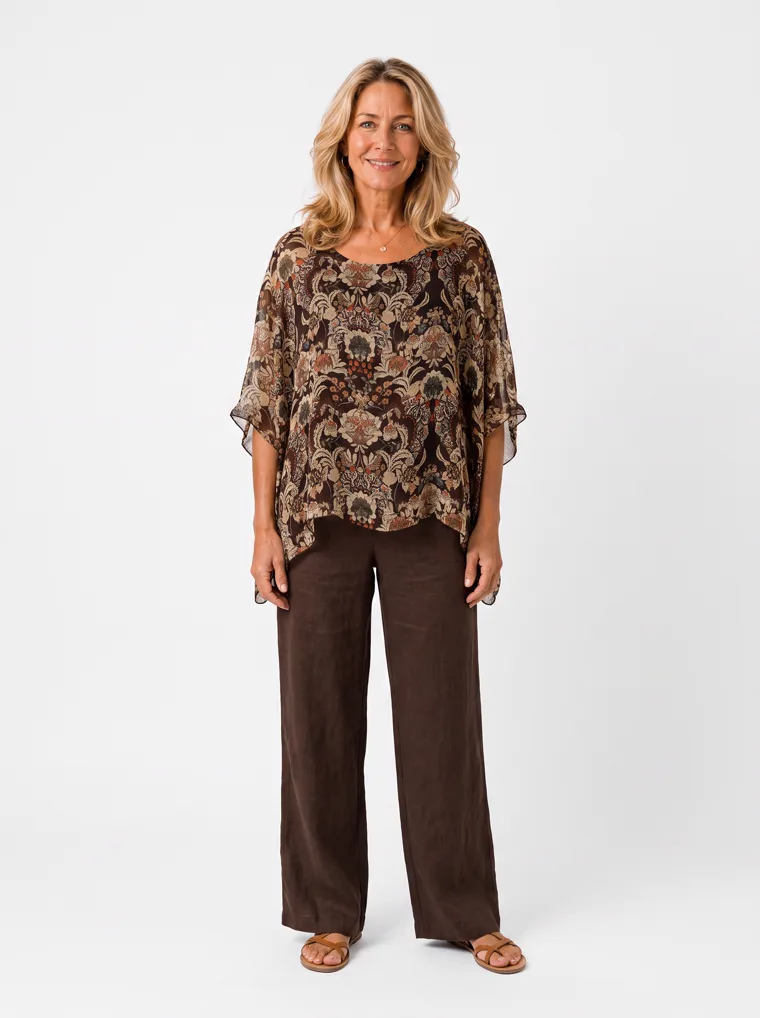
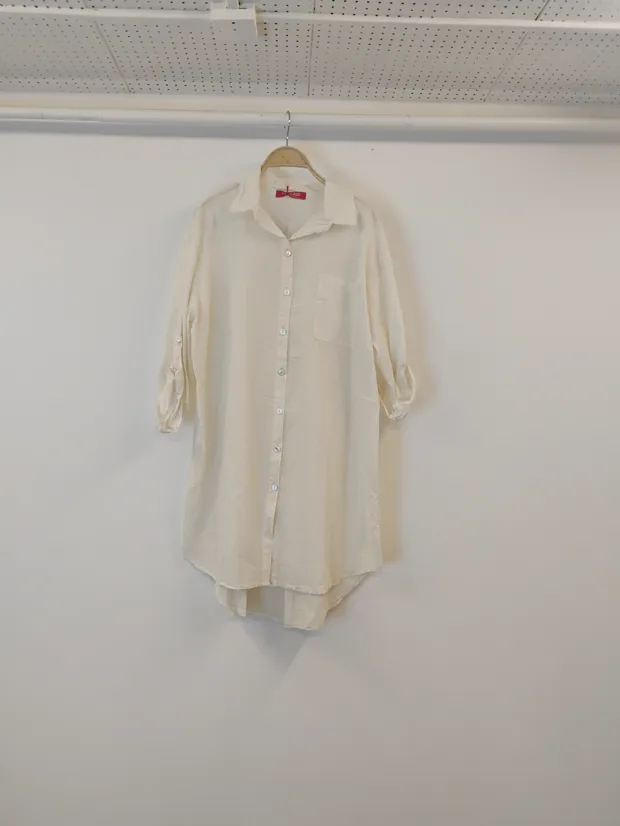
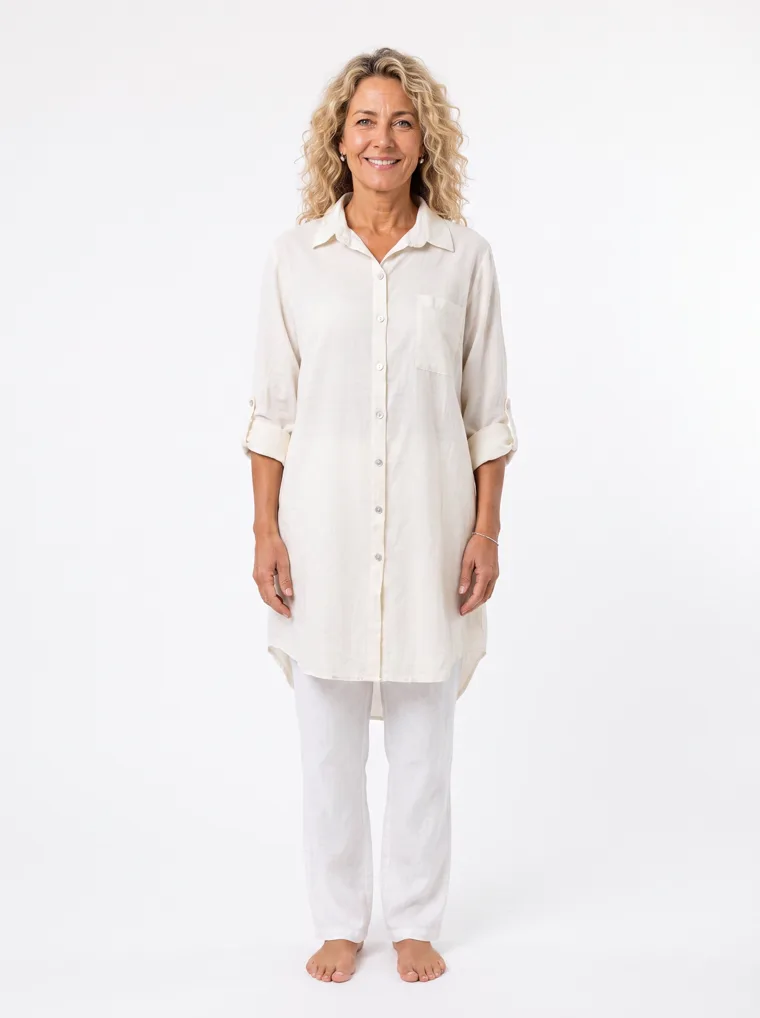
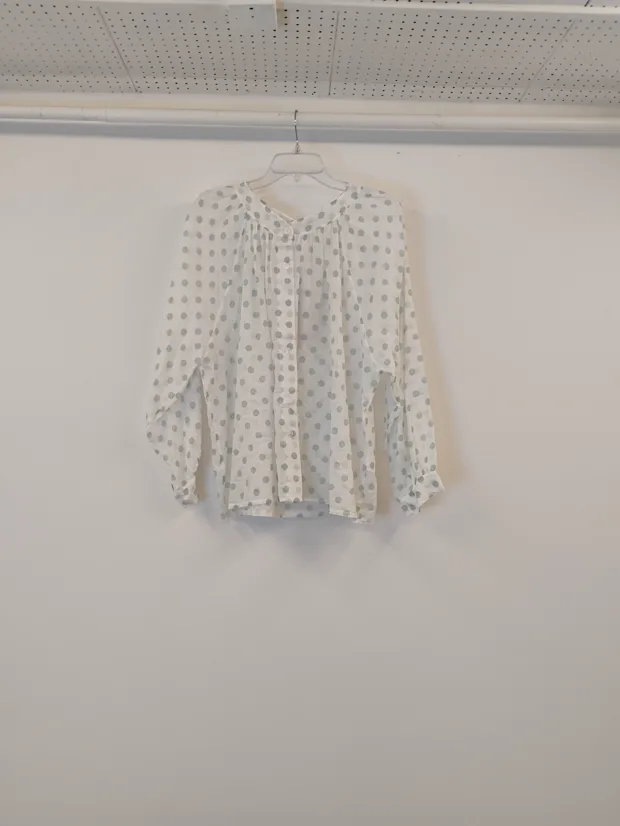
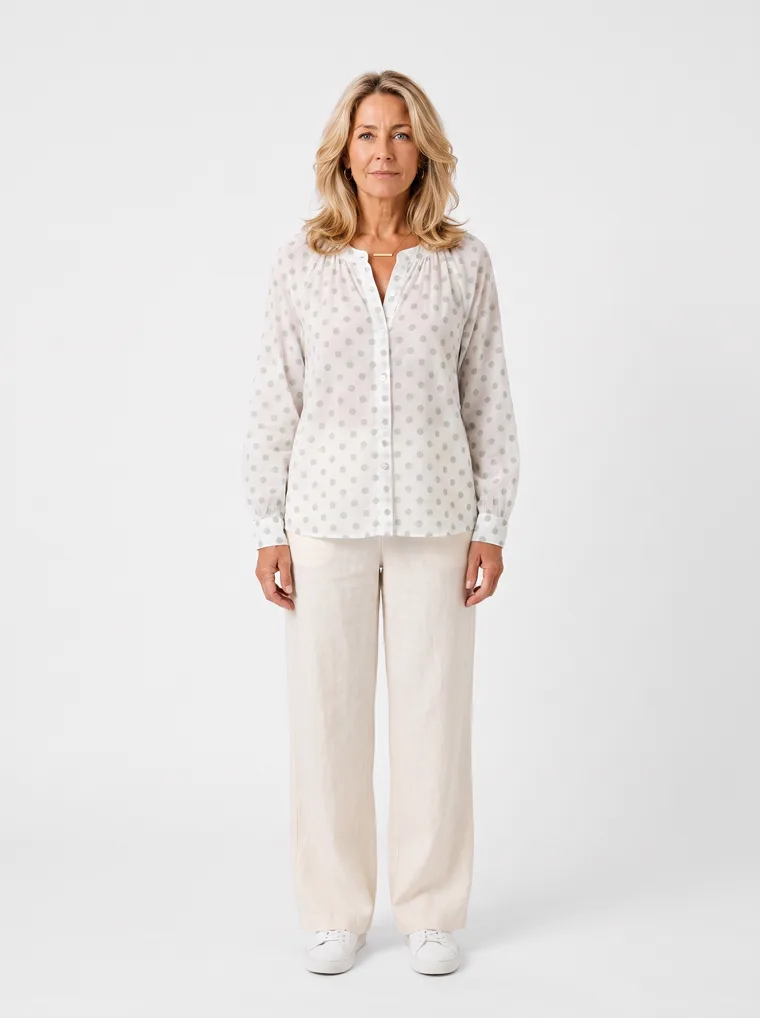
Eight pieces off one rail. Hanger shot on the left of each pair, the catalog image it produced on the right.
And Three More Reasons
It answers “what do I wear it with?” Every output above is styled as an outfit — the blouse with trousers, the knit with dark denim. That’s a question shoppers ask silently and abandon carts over. A hanger can’t answer it.
It shows fit and drape. Where the hem lands, how the sleeve falls, whether that tiered blouse is boxy or floaty. Fit and sizing drive around half of apparel returns, and a flat garment on a hanger gives a shopper almost nothing to judge it on.
It makes a mixed rail look like one shop. Boutiques carry a dozen labels, photographed on different days in different corners with different light. Run them all through the same background and model settings and the collection page stops looking like a jumble sale and starts looking like a brand. That’s covered in more depth in our guide to cohesive collection pages.
The Set
One Hanger Shot, Ten Usable Frames
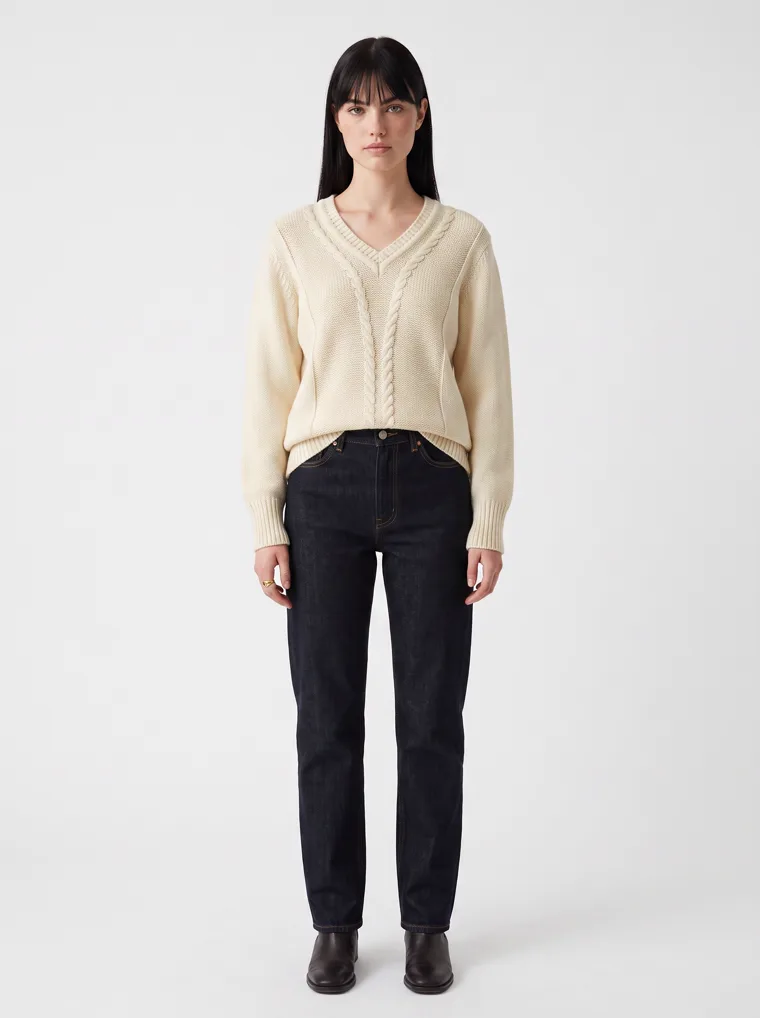
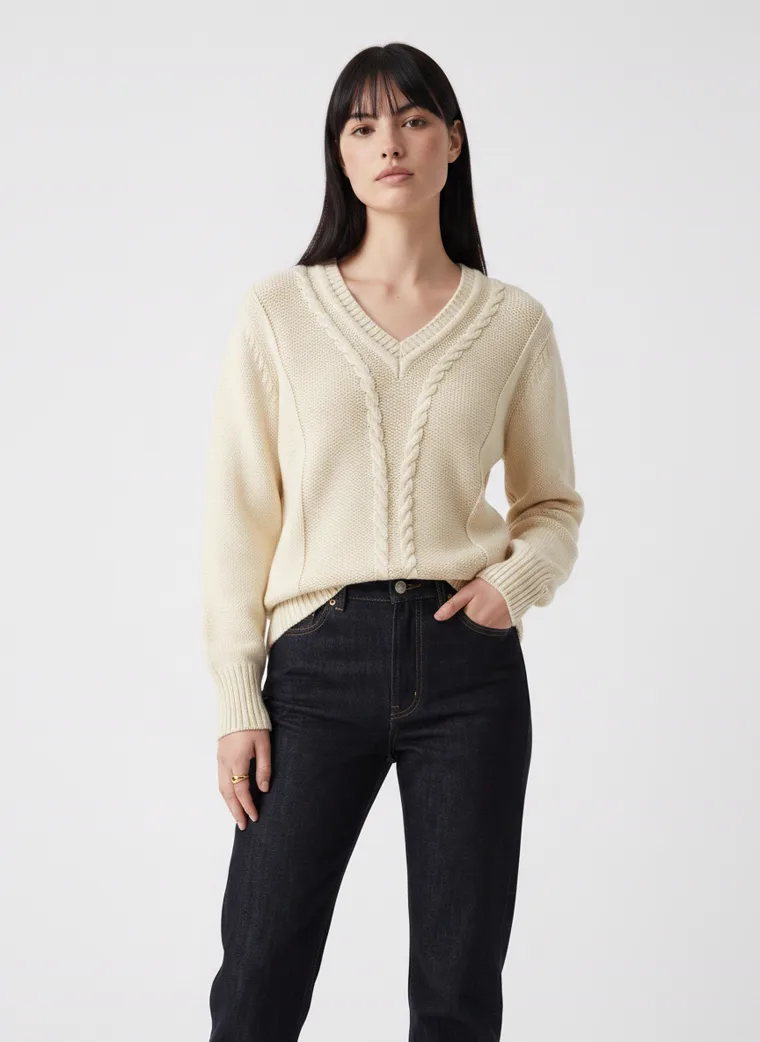
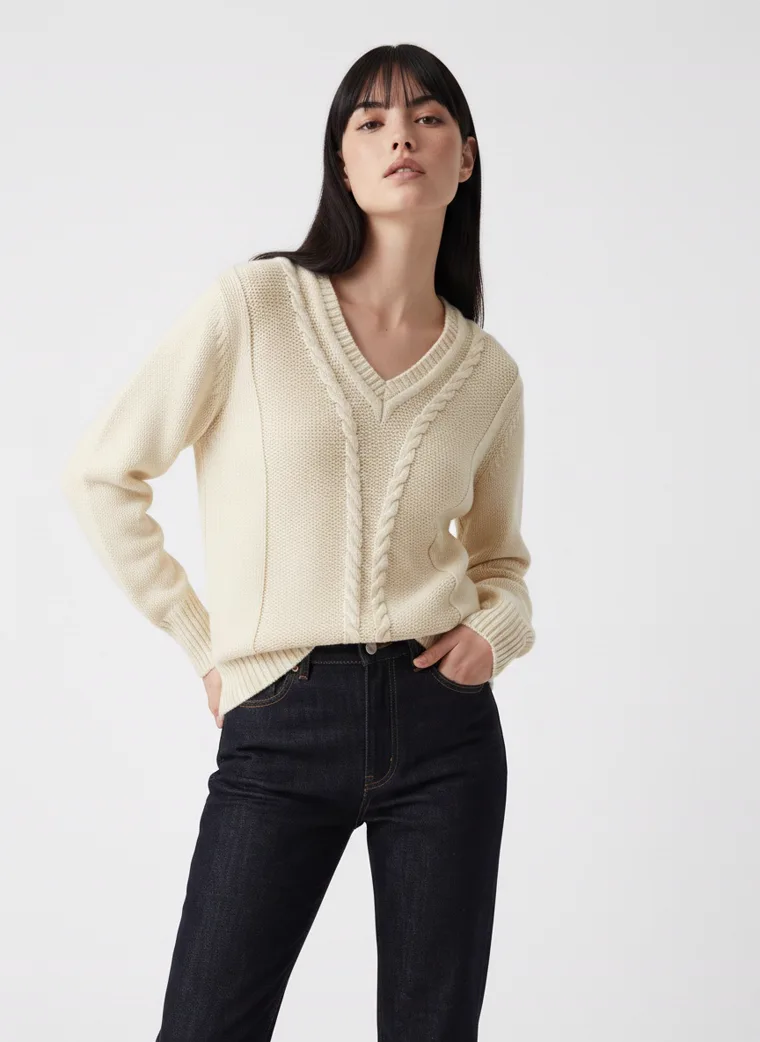
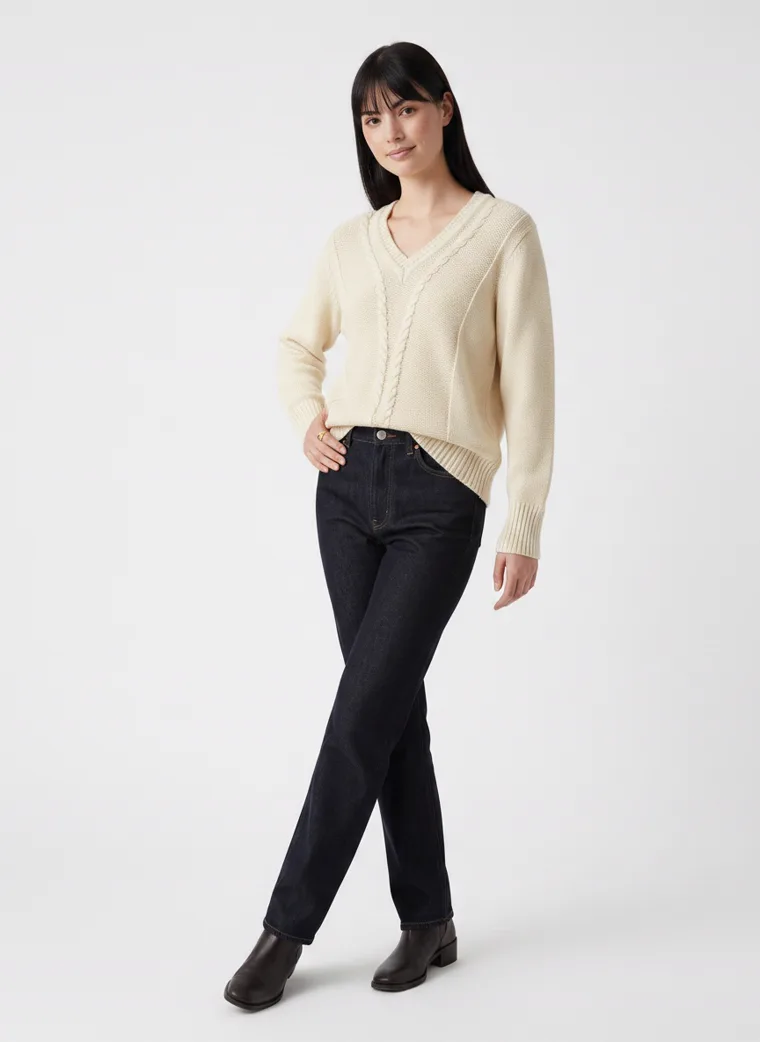
A product page needs more than one image. The cream cable-knit below went in as a single photo on a black hanger and came back as a full catalog shot list — on-model angles, plus a clean garment-only frame and a close-up of the cable itself, which is the shot that sells a knit.
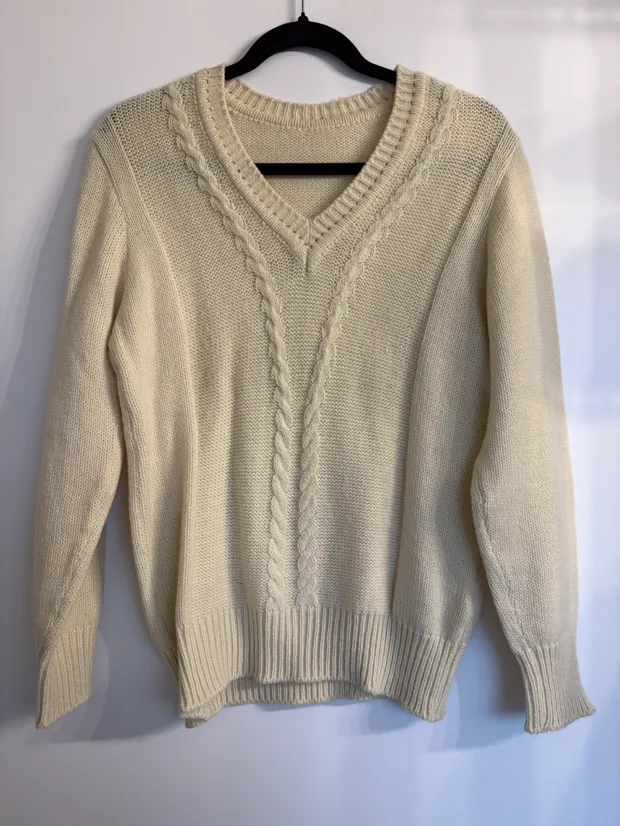
The input
Front
Three-quarter
Turned
Walking
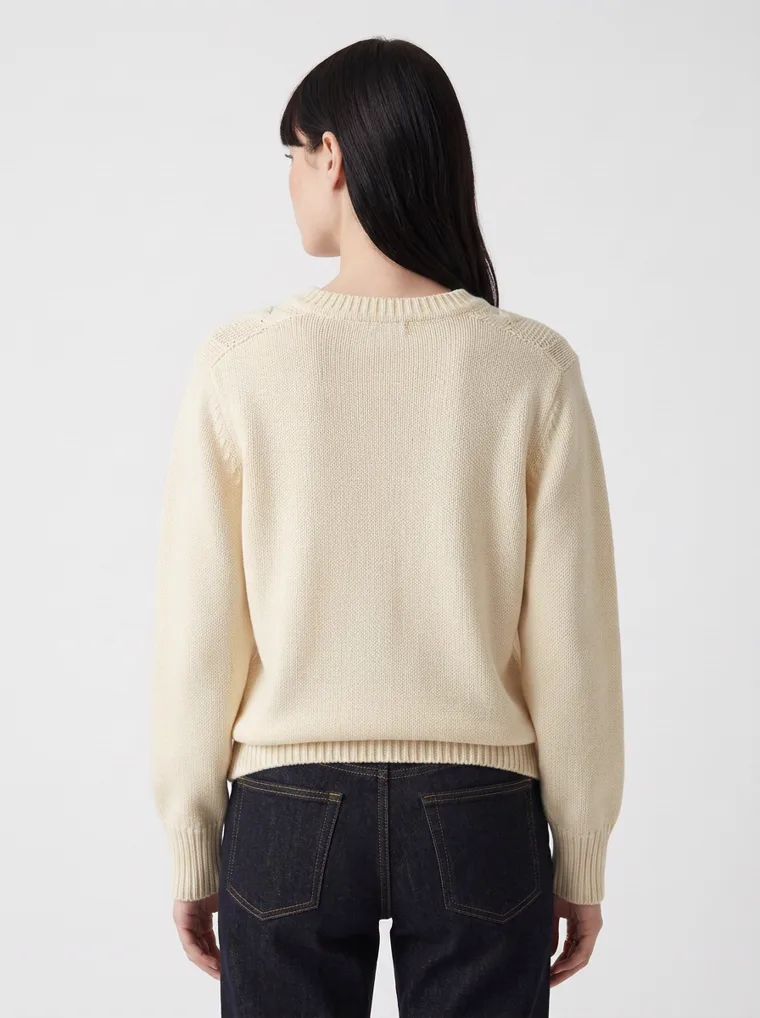
Back
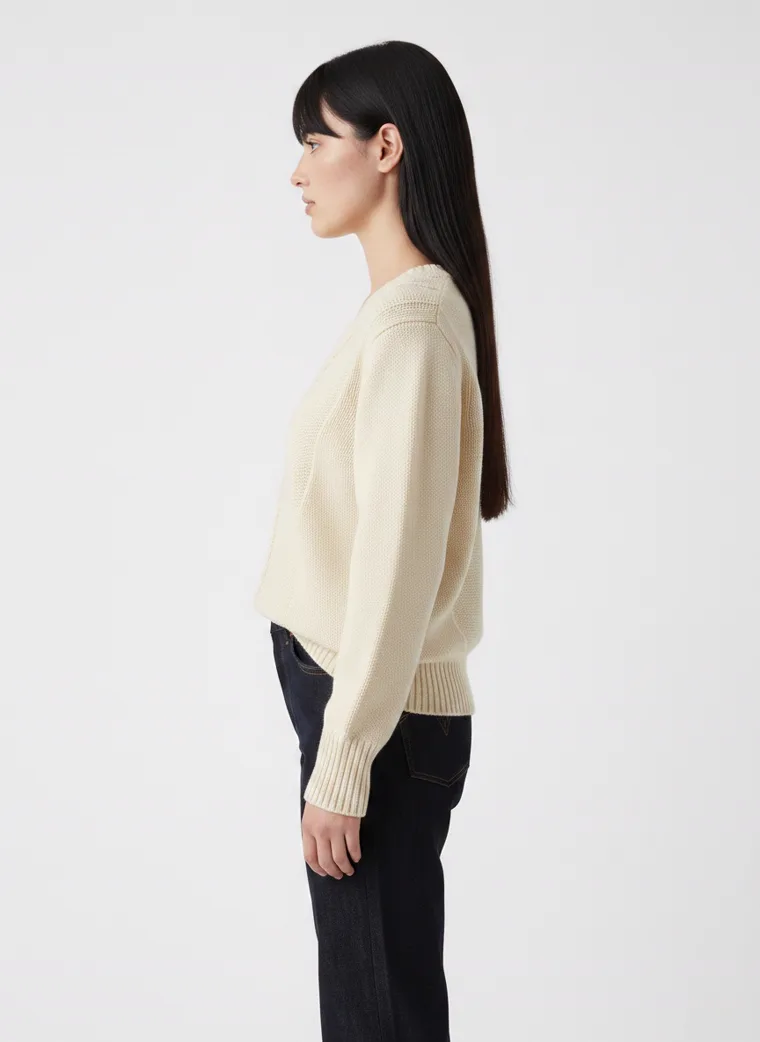
Side
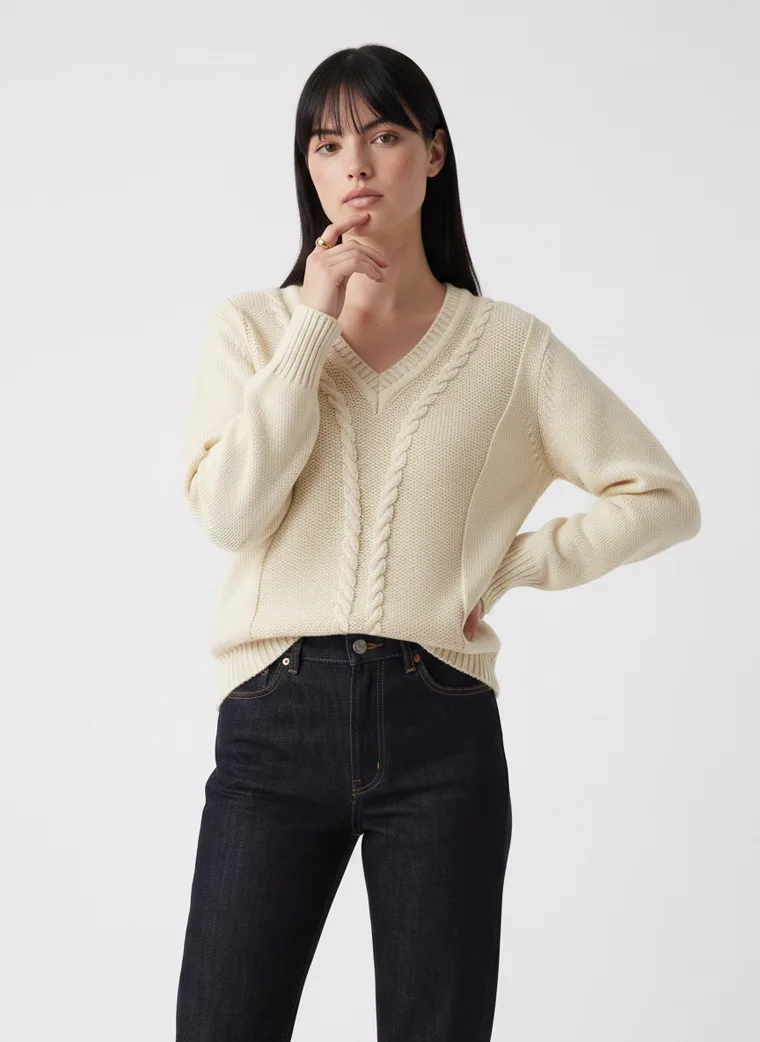
Detail pose
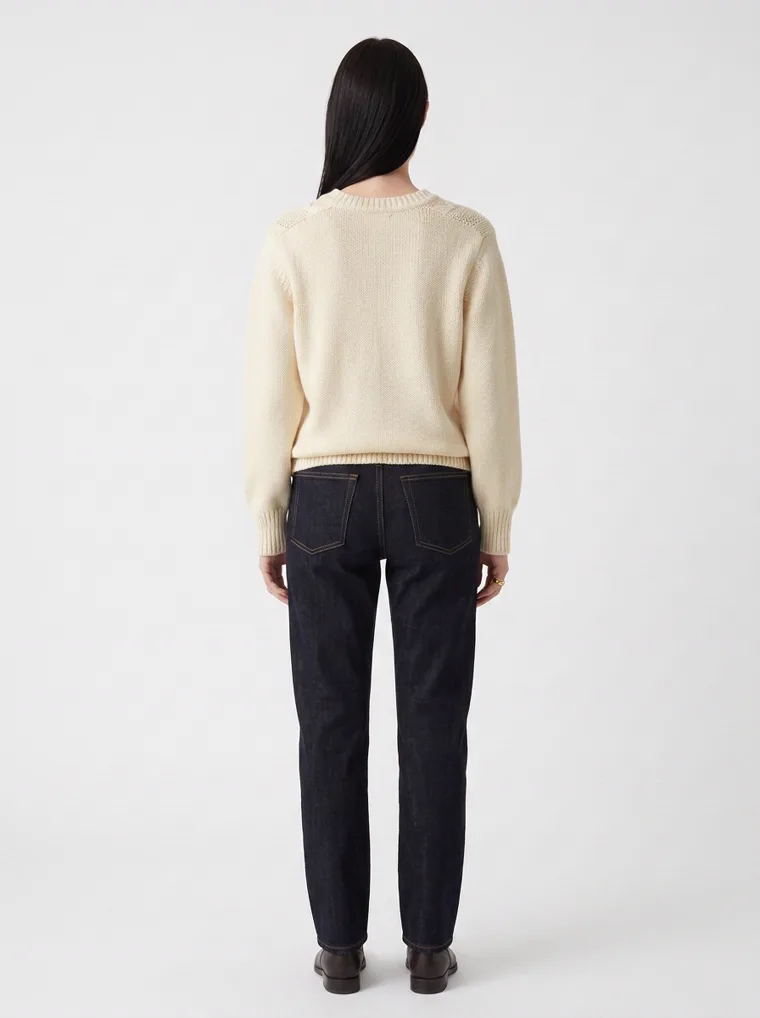
Back full
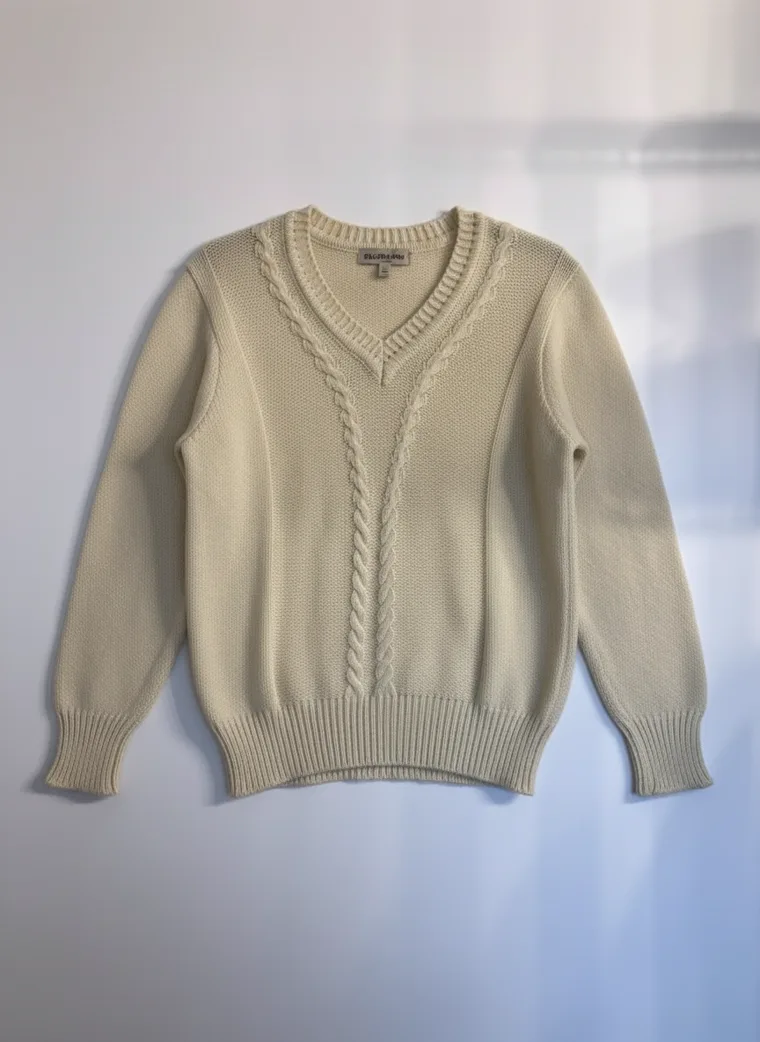
Garment only
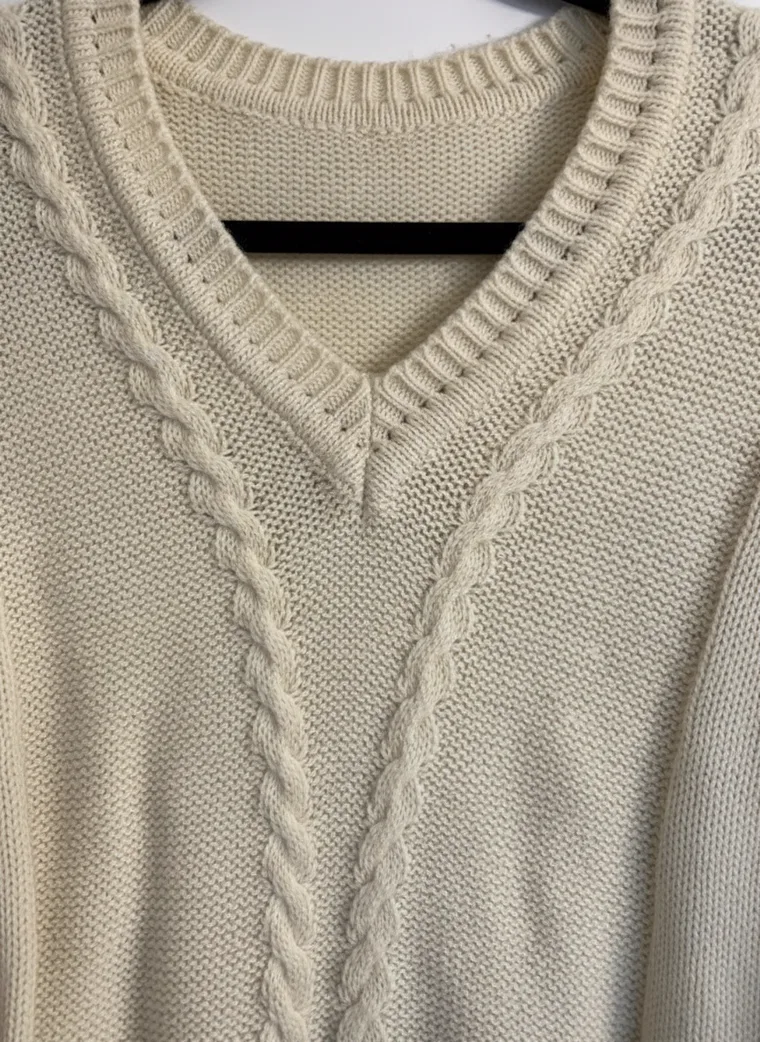
Knit detail
Ten frames from one hanger photo, including the garment-only shot and the knit detail.
Best Practice
How to Take a Hanger Shot Worth Generating From
None of this needs equipment. It’s the difference between a photo taken in ten seconds and one taken in forty, and it decides how good everything downstream looks. Whatever is true in the hanger shot — the colour, the print, the creases — is what carries through.
01
Plain wall, nothing behind it
A white or pale wall is all you need. Clear the frame of other stock, rails, boxes and price tags — anything behind the garment competes with it and can end up read as part of the shot.
02
Leave the hanger in
Don’t cut it out. The hanger holds the shoulder line the way the garment is actually cut, keeps the neckline open, and gives a reference for scale and proportion.
03
Steam out the wrinkles
Give it a shake or a quick steam and let it settle. Sharp storage creases can read as part of the fabric, and a rumpled piece on the rail becomes a rumpled piece on the model.
04
Whole garment, straight on
Fill the frame with the piece, sleeves and hem included, and shoot square to it at about mid-garment height. Shooting down at an angle foreshortens the length and distorts the cut.
05
Even light, true colour
Daylight or flat overhead light beats a flash. Watch for colour casts — warm shop bulbs push cream to yellow, and whatever colour you photograph is the colour you get back.
06
Shoot the back too
One extra photo with the hanger turned around gets you a real back view instead of a guessed one. Worth it for anything with a detail, a tie, or an open back.
Hanger Shot Alone vs. Hanger Shot Through MODA AI
You take the same photograph either way. The difference is what the product page gets to show.
| Hanger shot alone | Through MODA AI | |
|---|---|---|
| Who it’s for | Left to the shopper to guess | A model you choose, matched to your customer |
| How to wear it | Not shown | Styled as a full outfit |
| Fit and drape | Flat on a hanger | On a body, from several angles |
| Images per product | One, maybe two | 10 across 16+ angles, plus detail frames |
| A mixed-brand rail | Looks like separate shoots | One model, one setting, one collection |
| Cost per product | Free, and it shows | About $1 a set |
The Collection
The Rest of the Rail
Nothing held back — this is the rest of what came out of those hanger shots. Six pieces, four more angles apiece, all in the same studio. Lined up together it stops looking like stock and starts looking like a collection page.
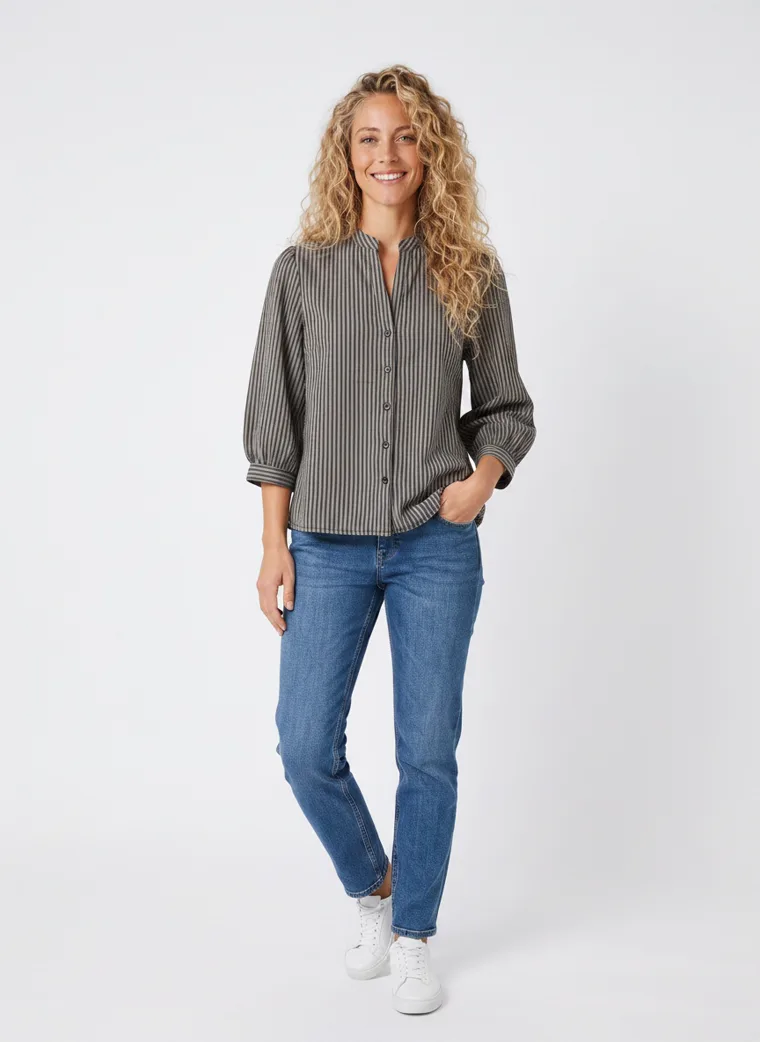
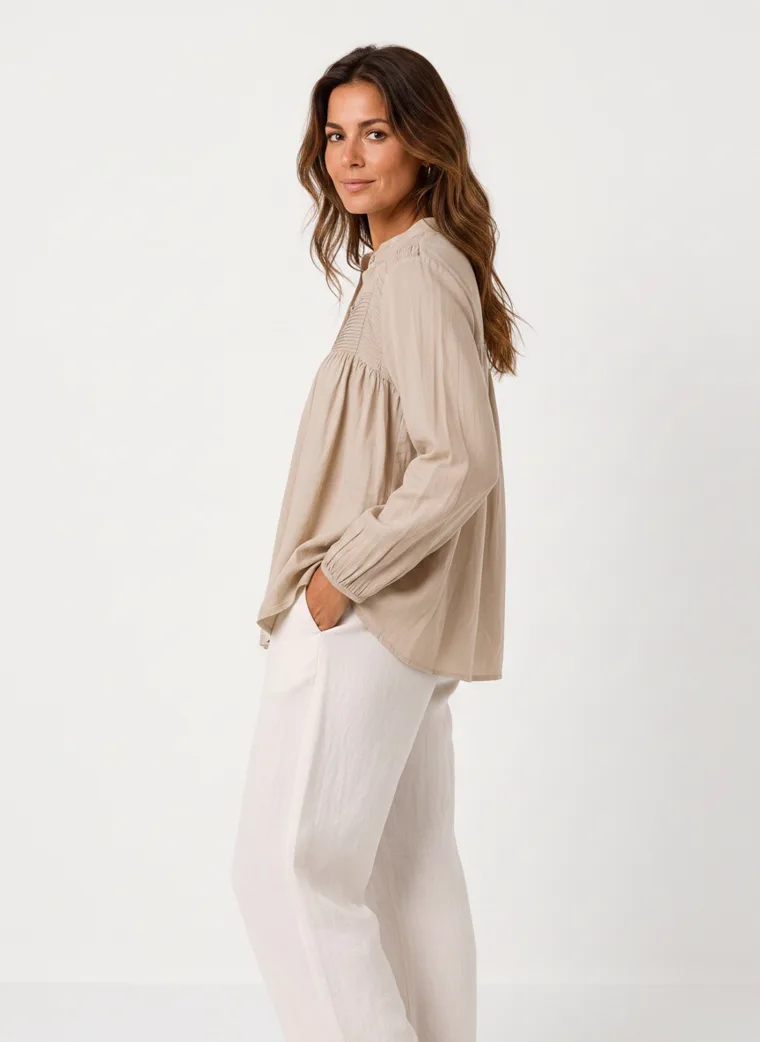
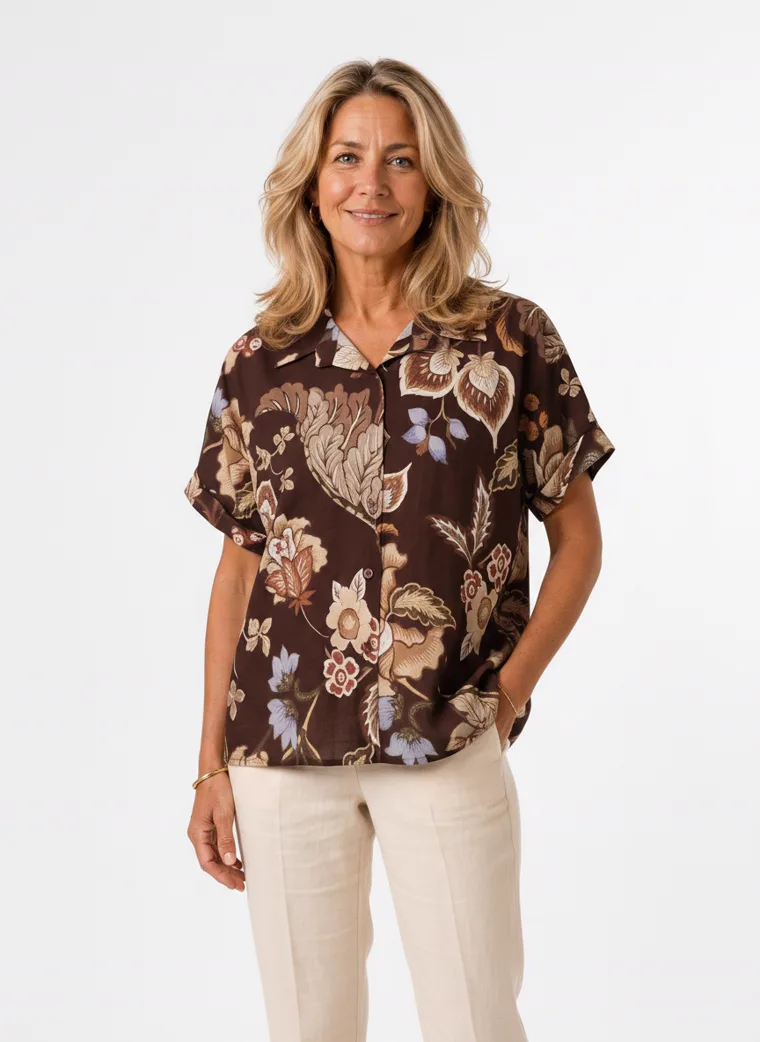
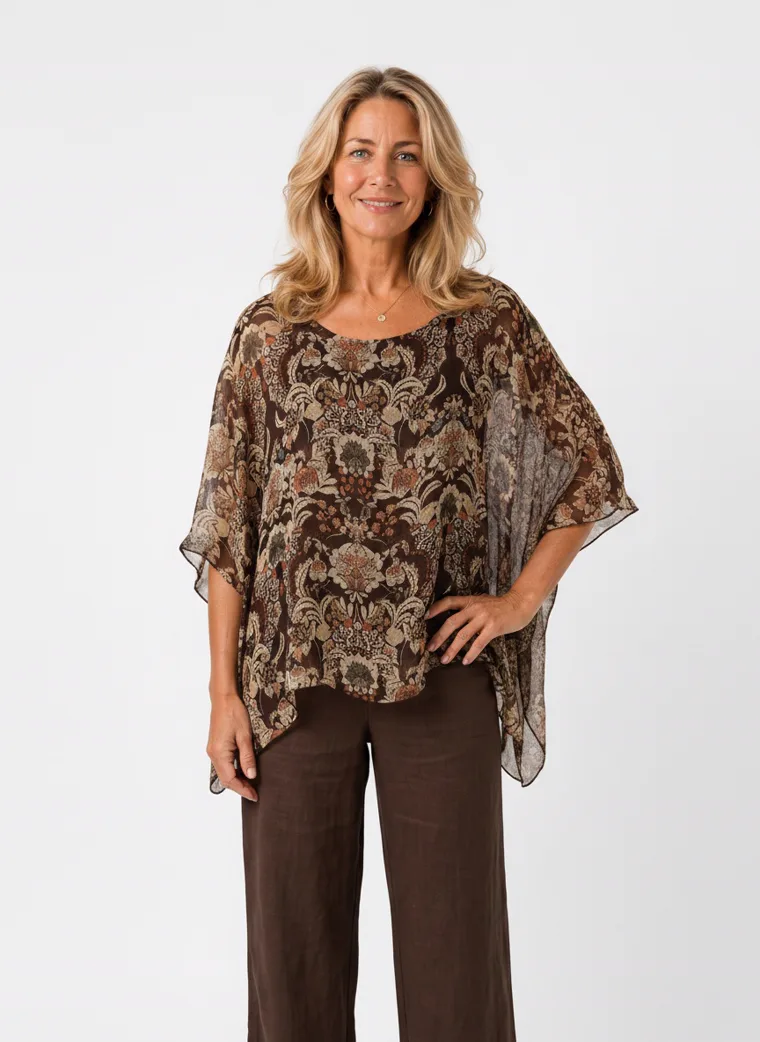
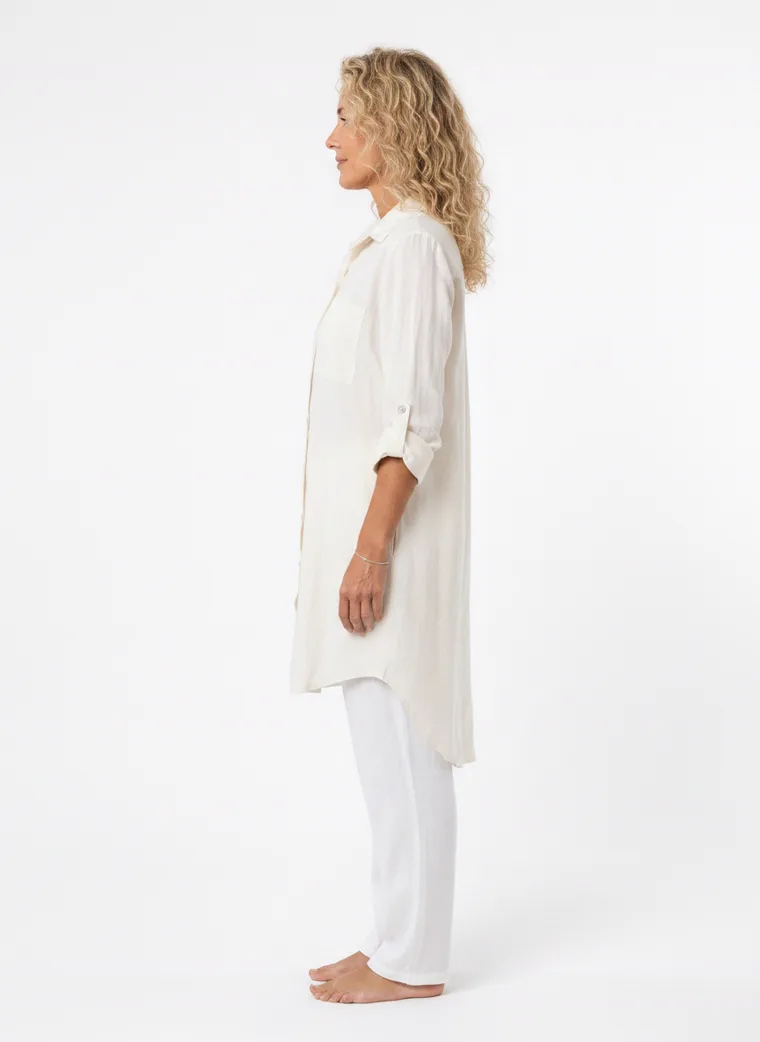
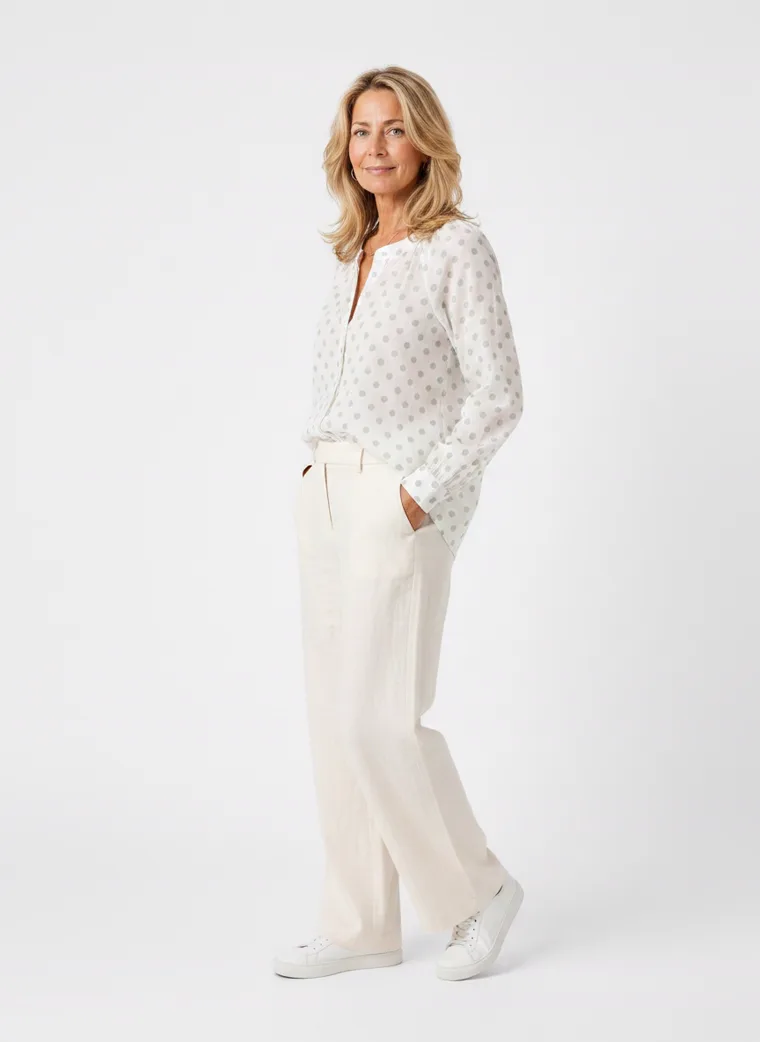
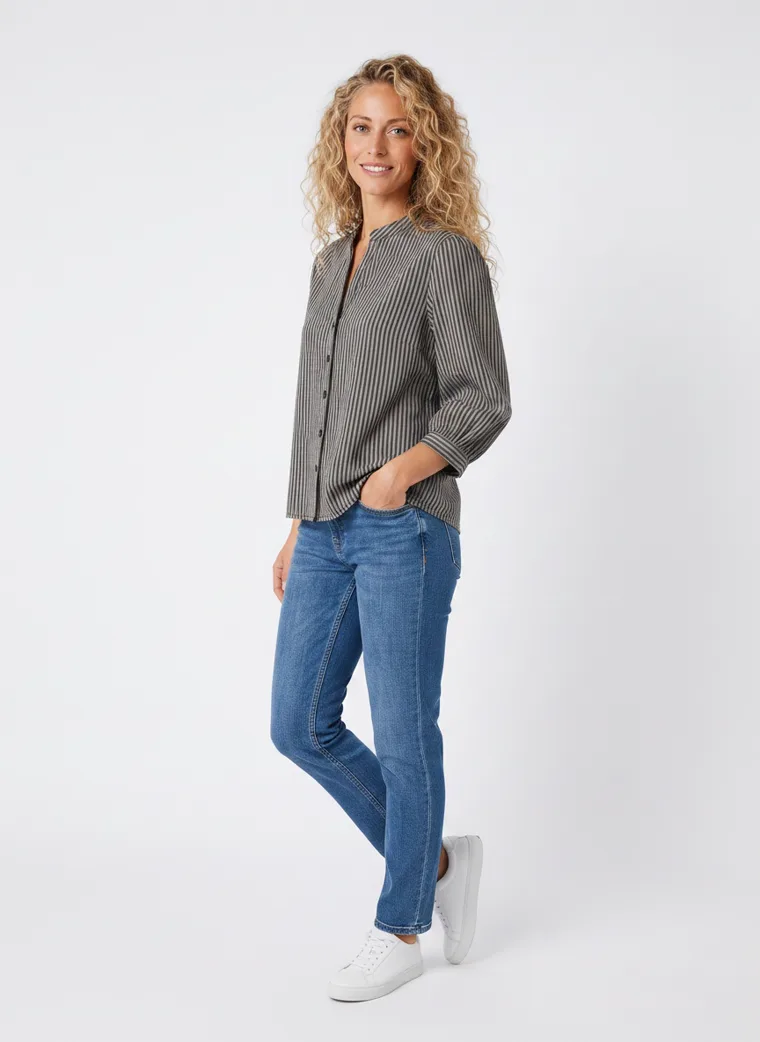
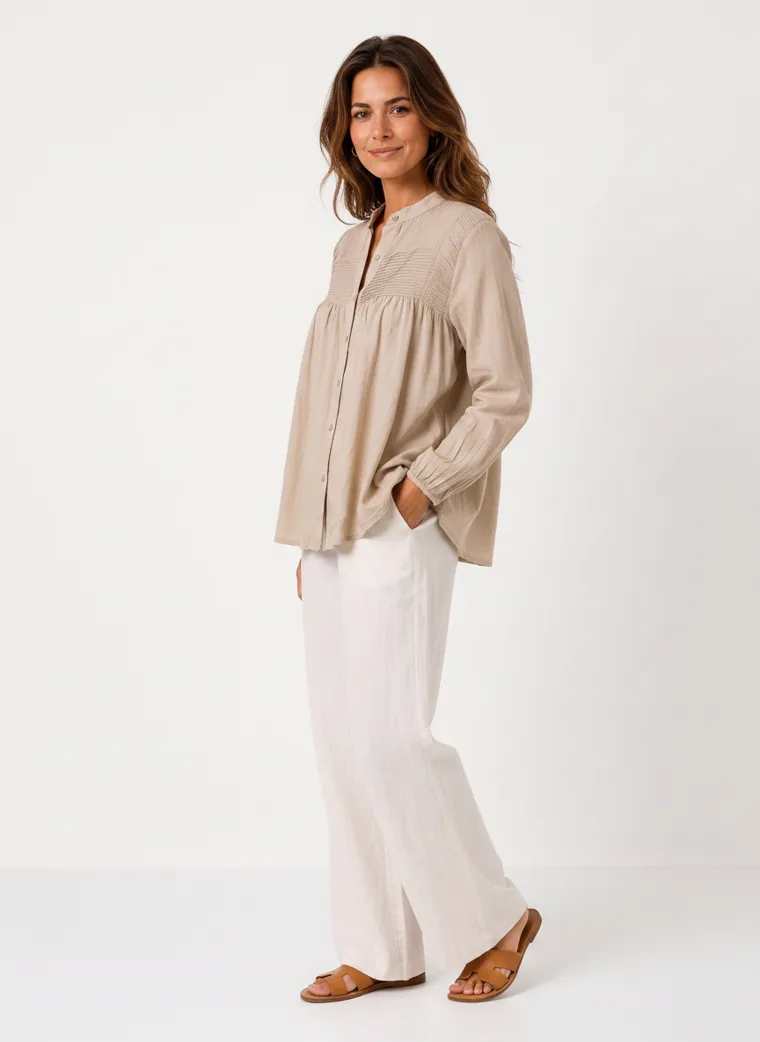
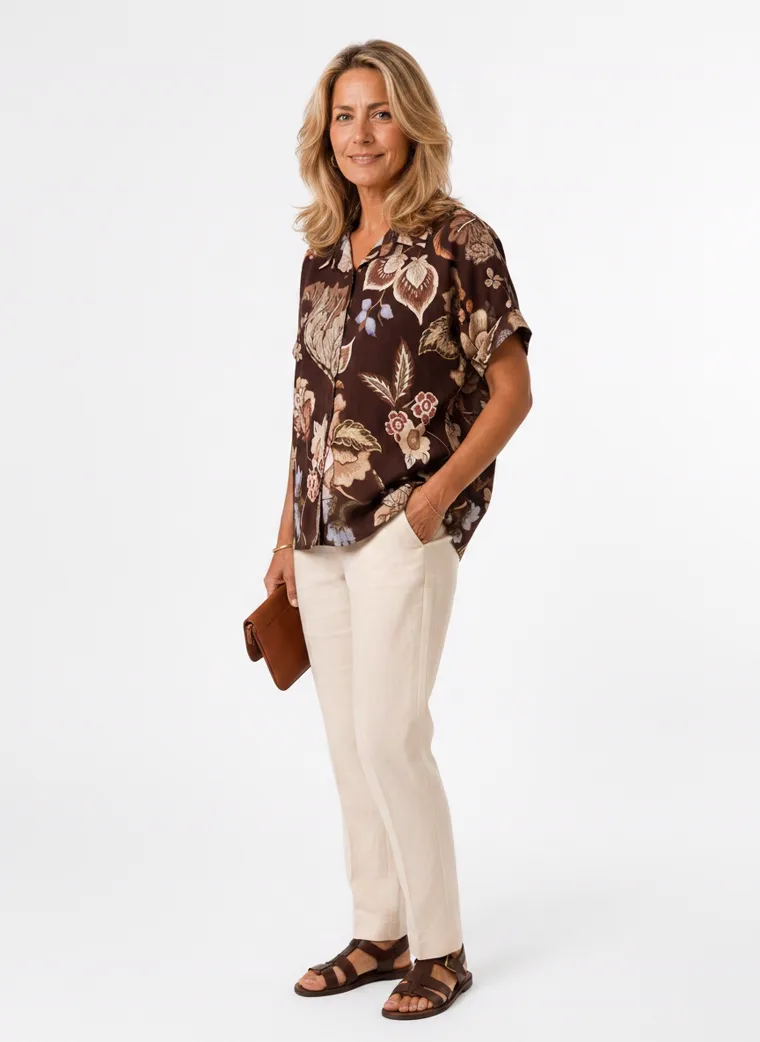
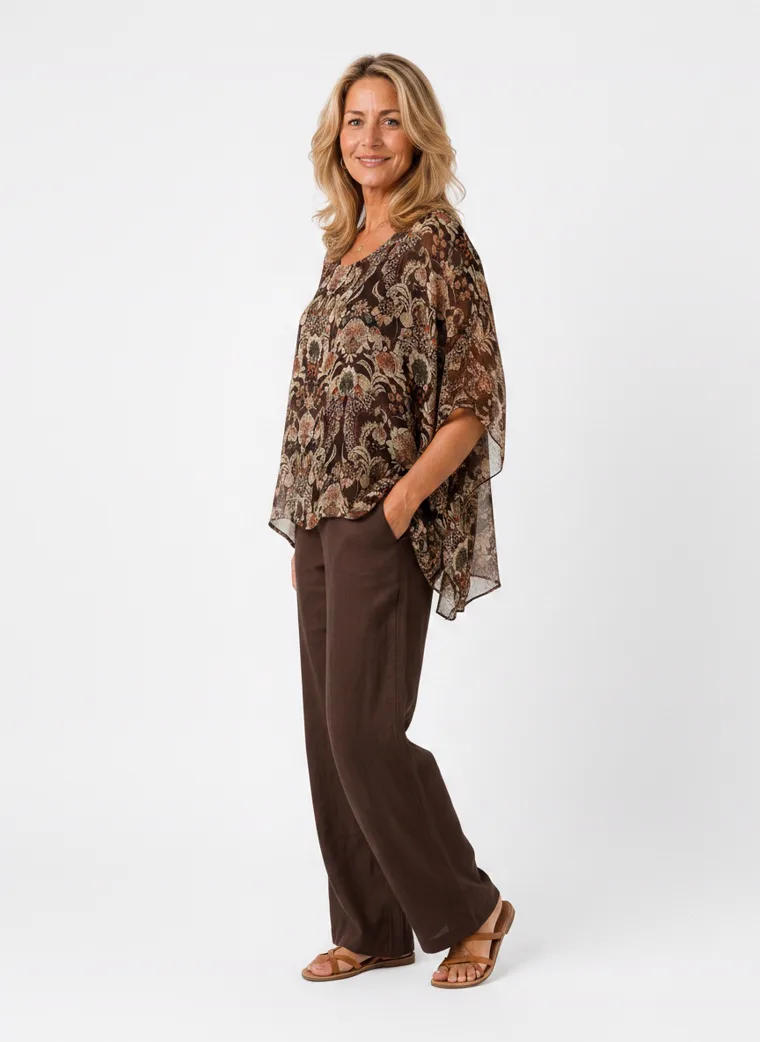
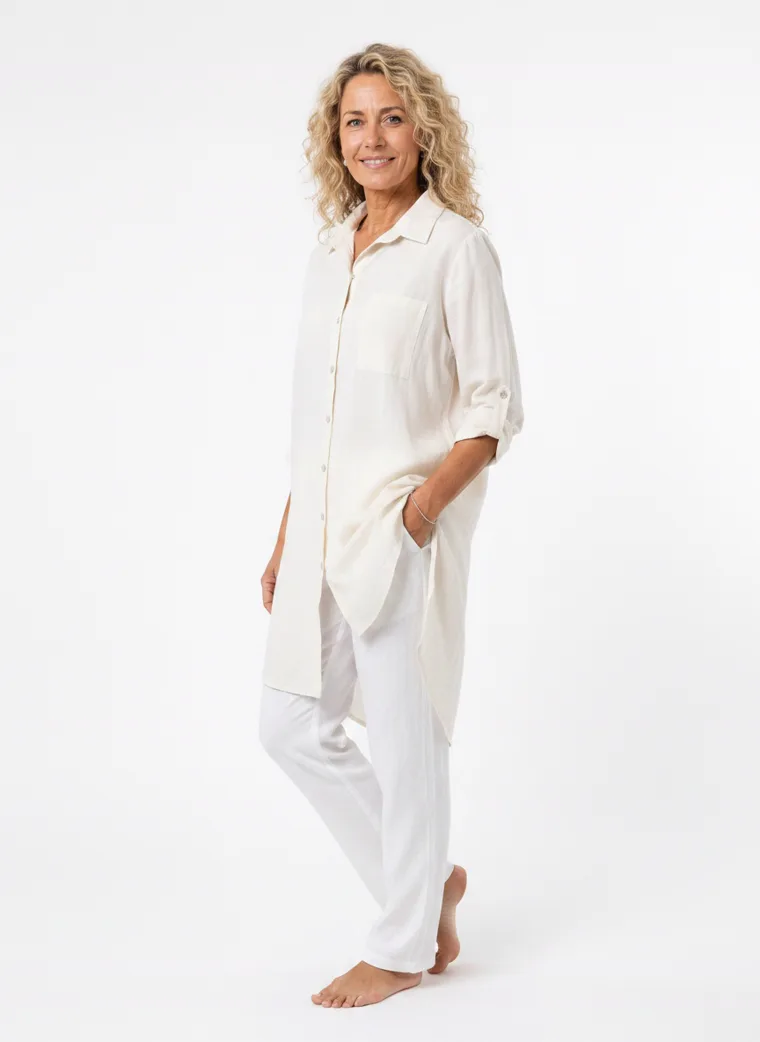
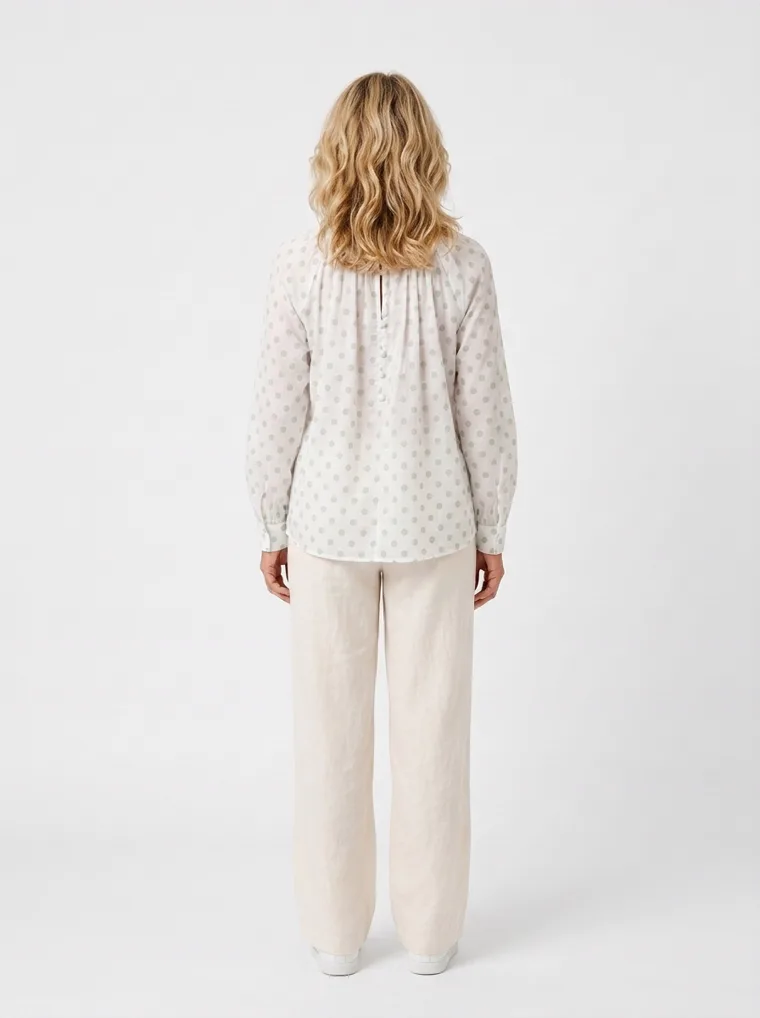
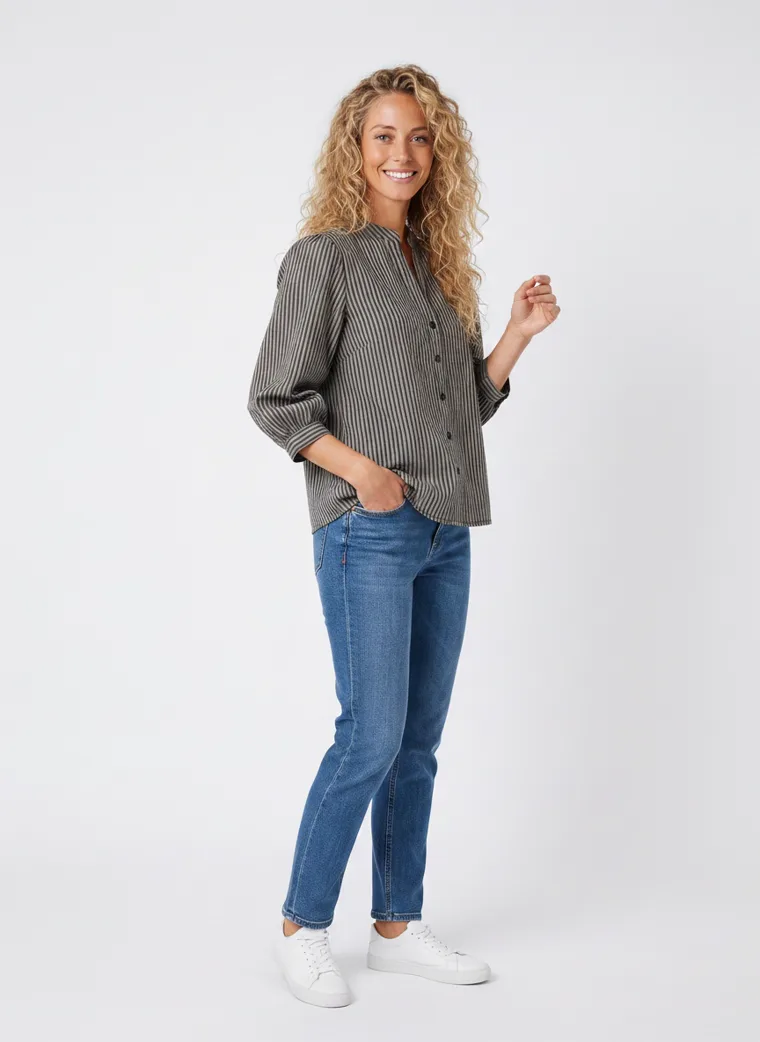
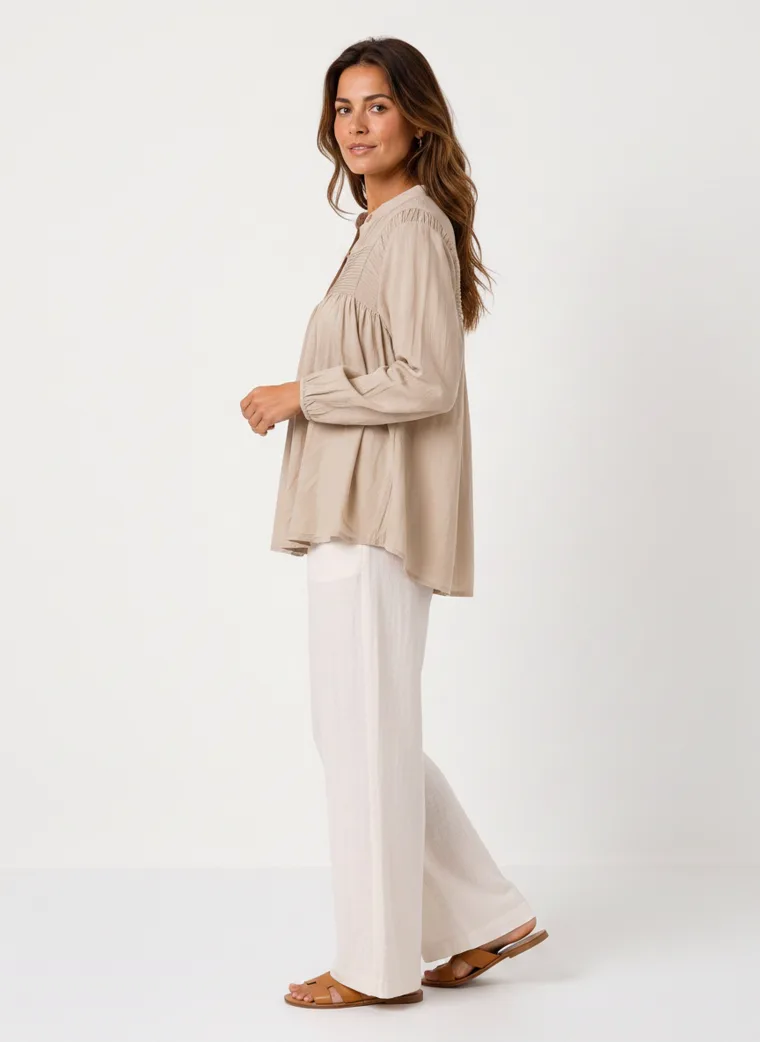
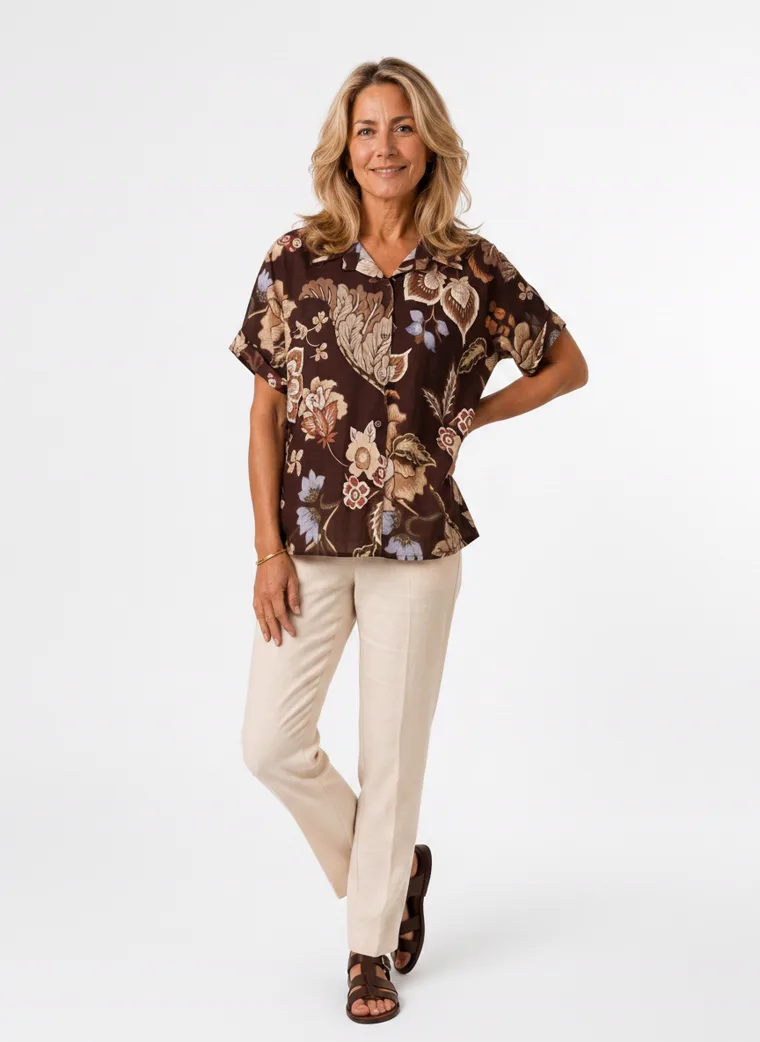
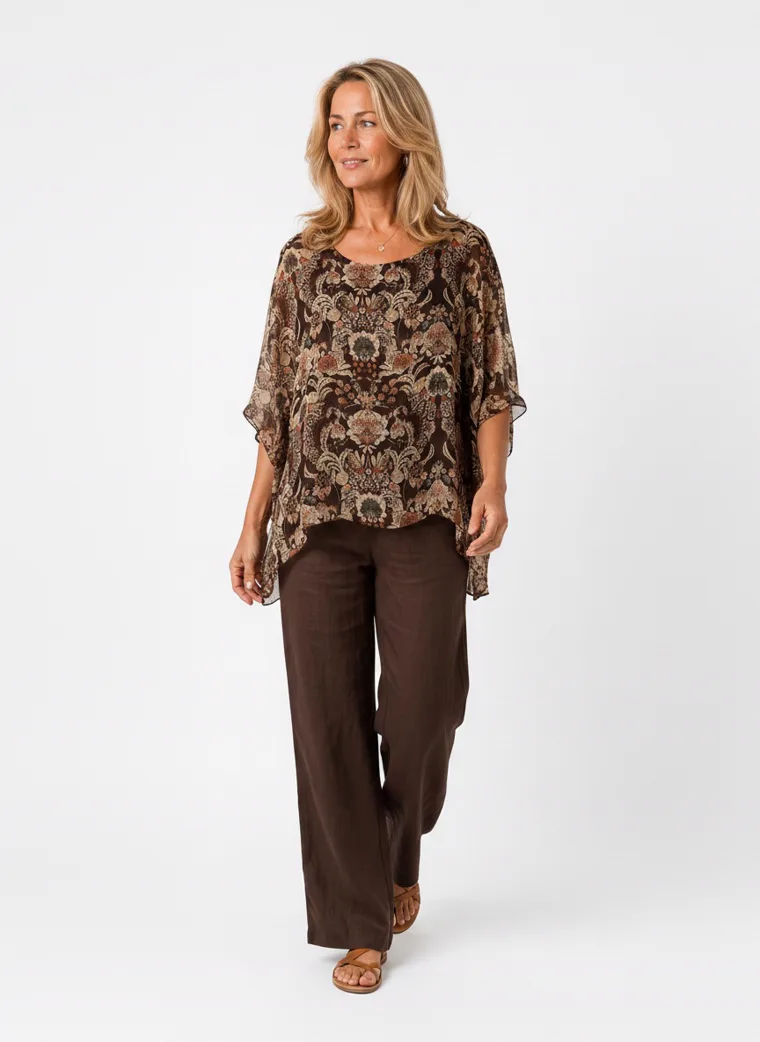
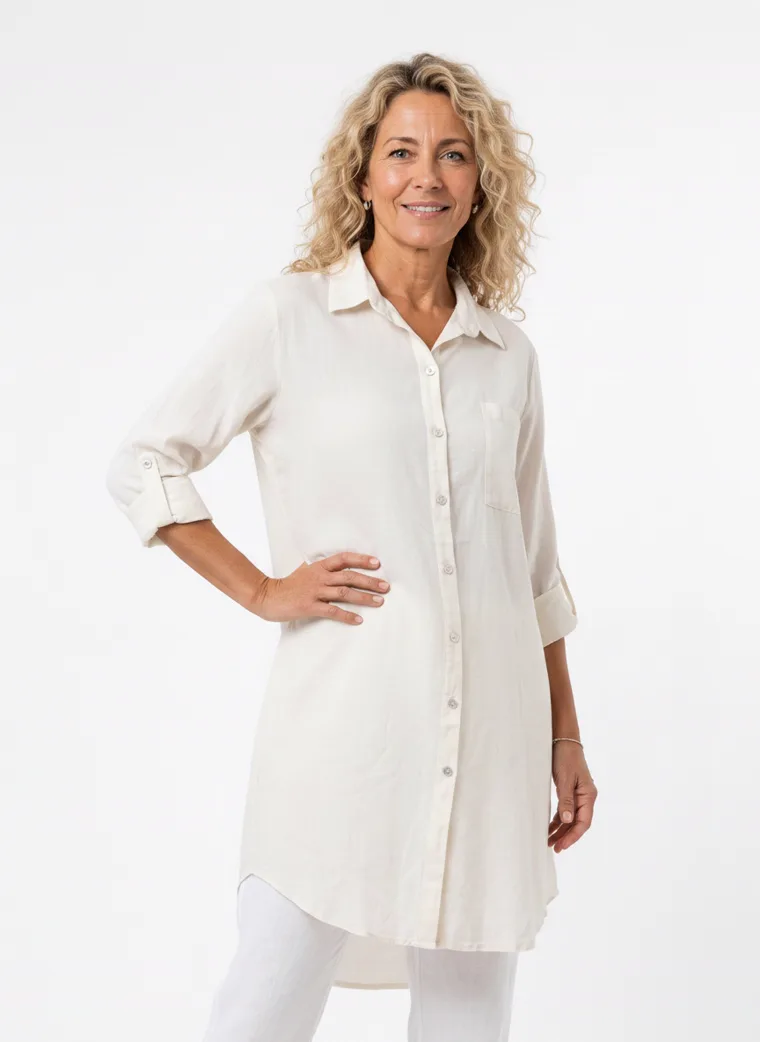
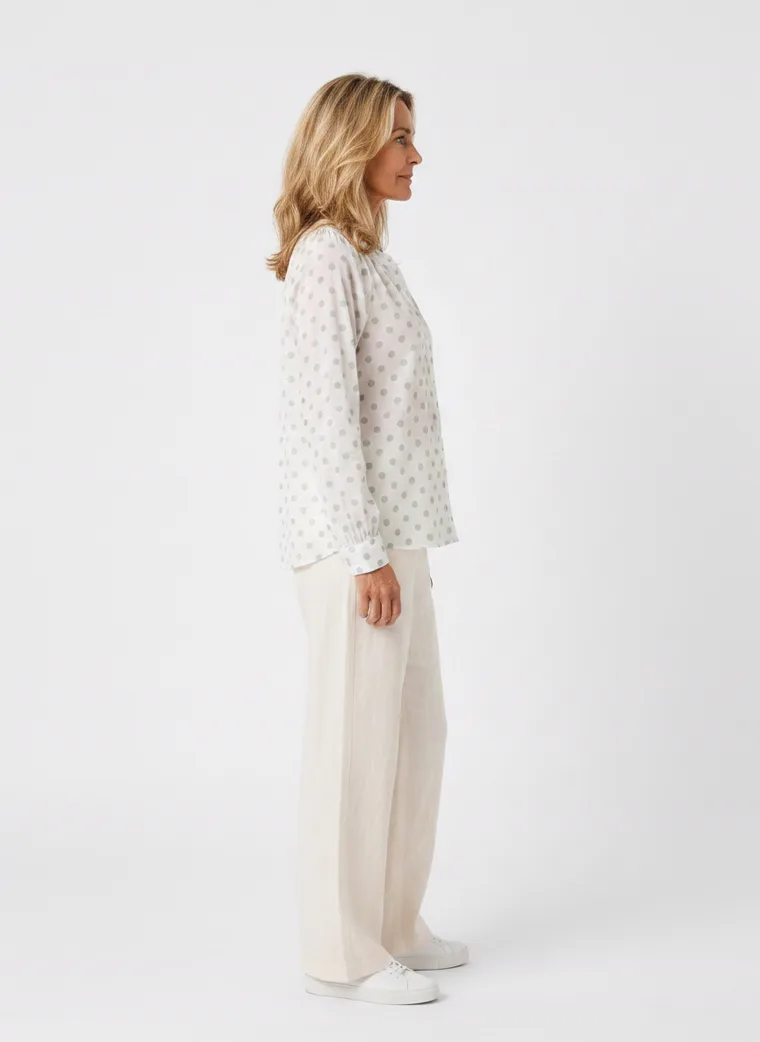
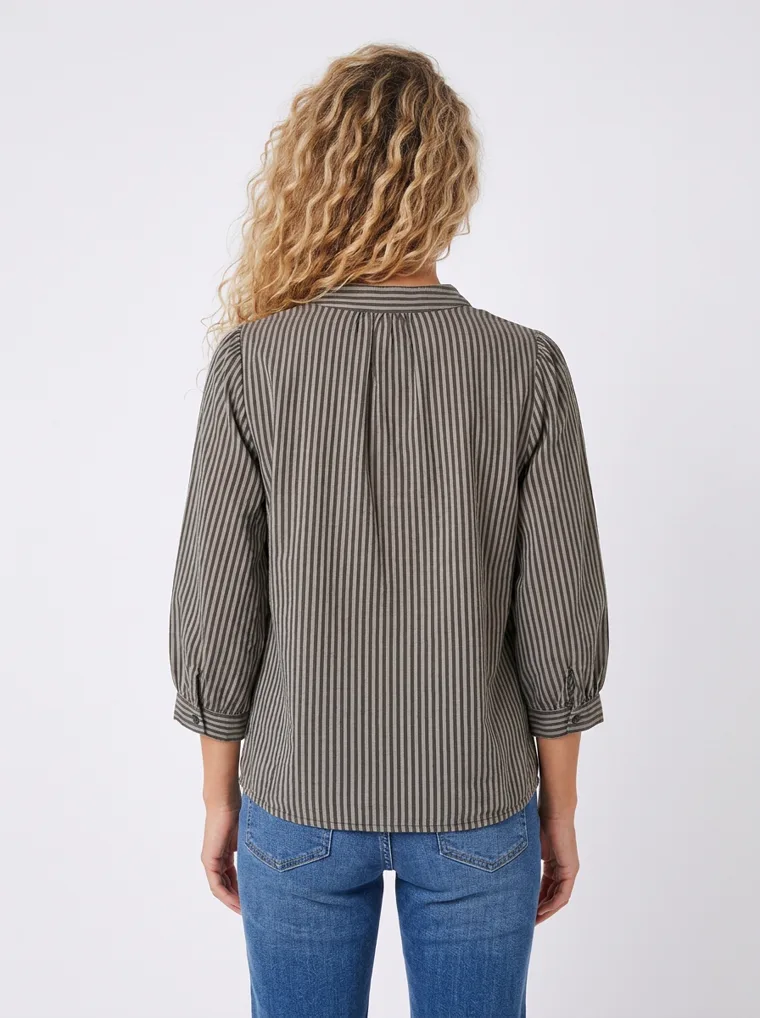
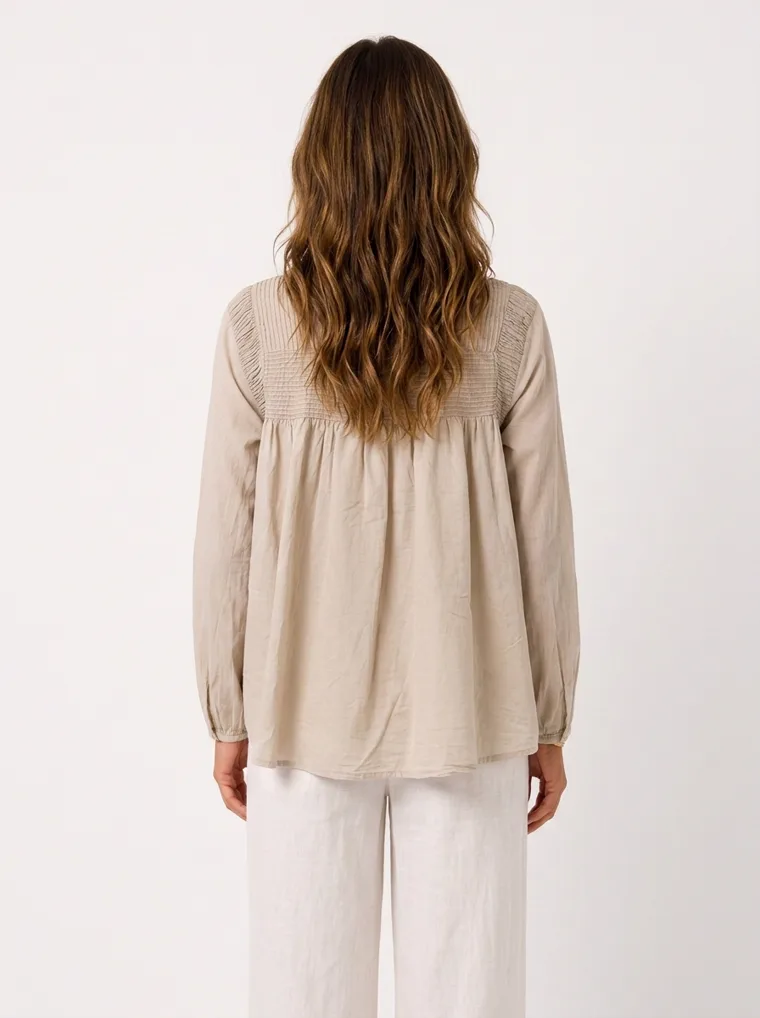
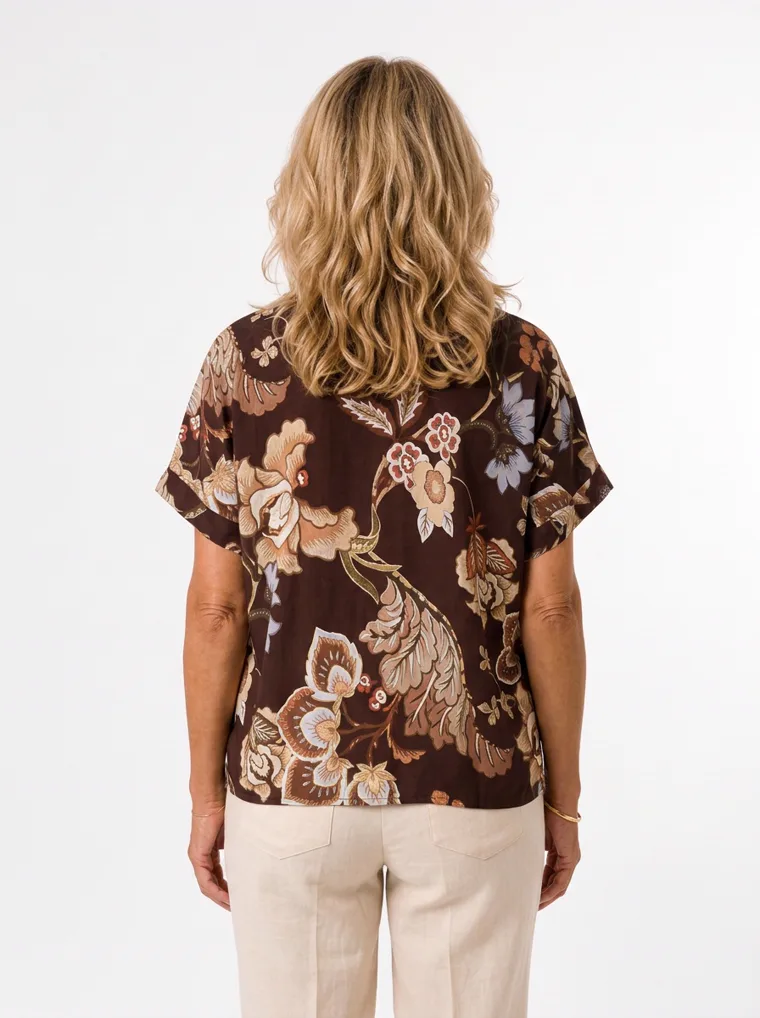
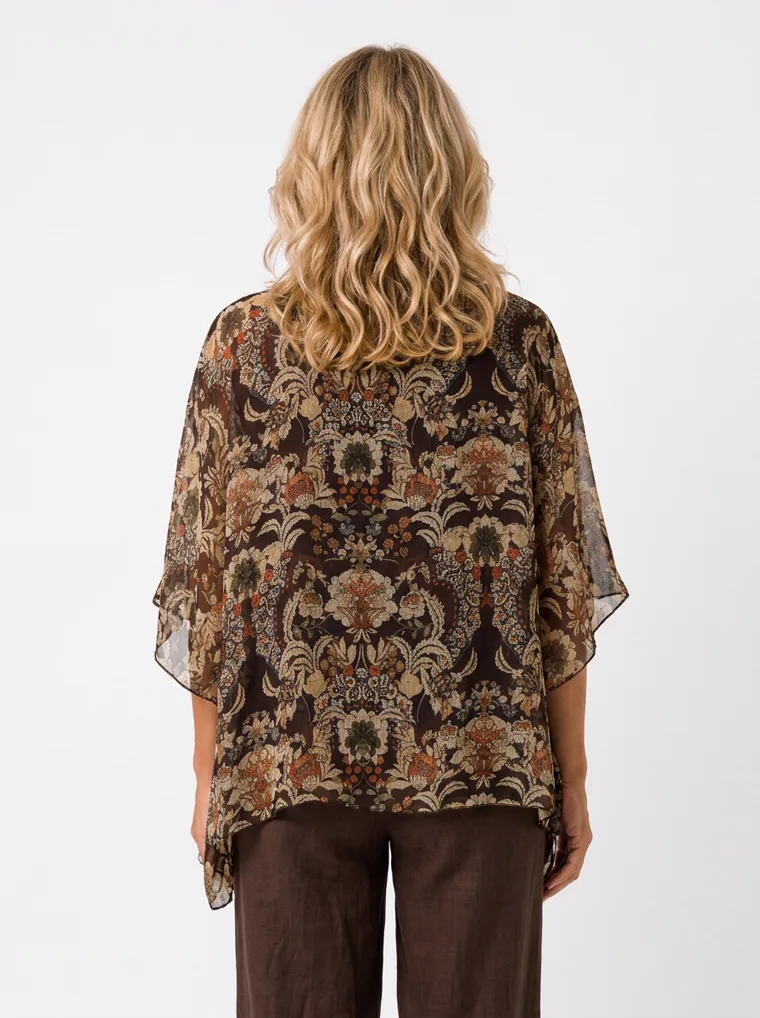
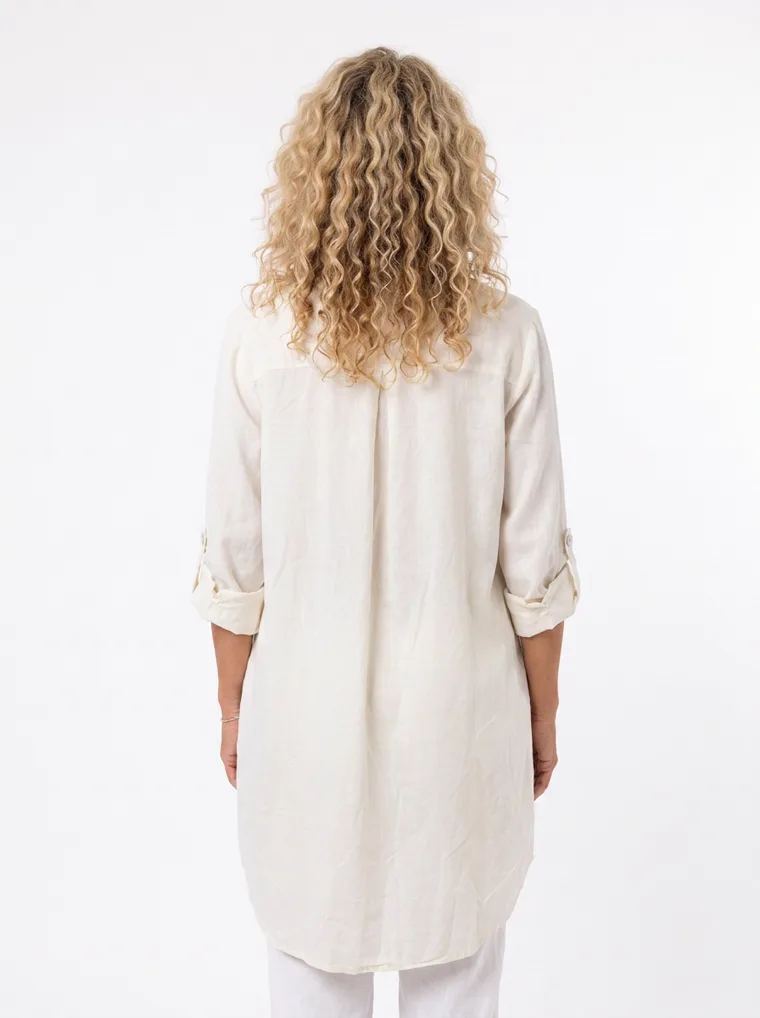
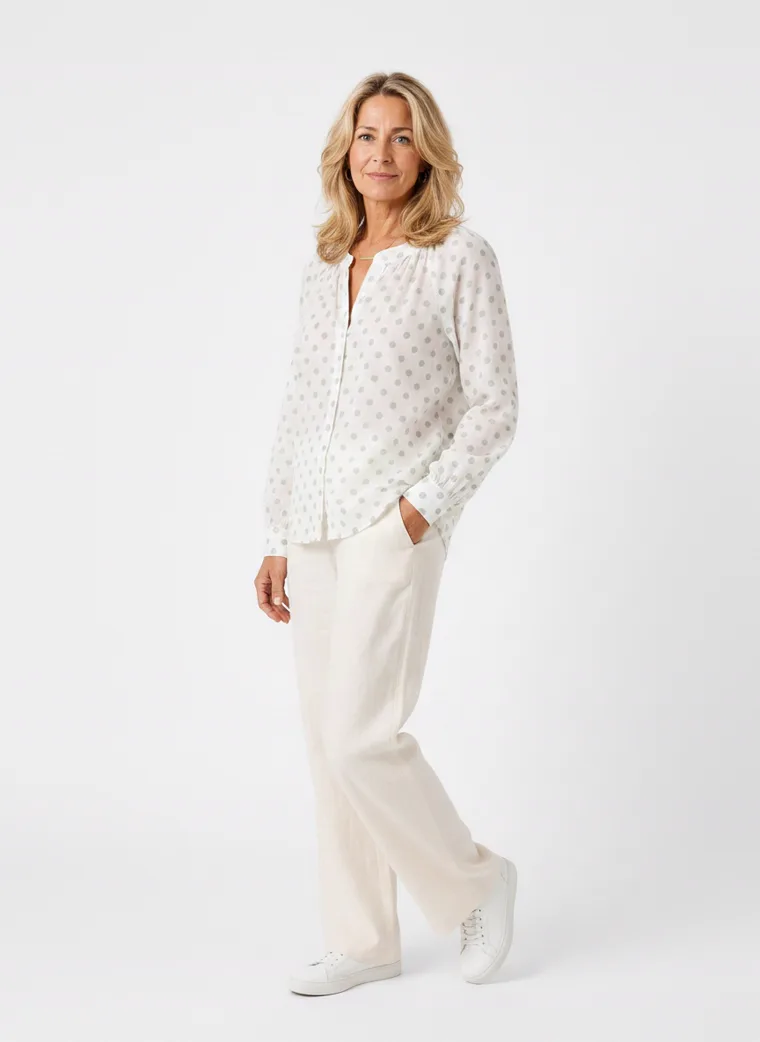
Every remaining frame from the run — six pieces, four more angles each, ending on the back views.
Frequently Asked Questions
What makes a good hanger shot to generate from?
A plain light background, the whole garment in frame including sleeves and hem, shot straight on at about mid-garment height, in even light with no colour cast. Keep the hanger in — it holds the shoulder line and gives scale. Steam out heavy wrinkles first, and shoot the back too if you want a real back view.
Should I remove the hanger before uploading?
No. The hanger is doing useful work: it keeps the shoulders open and the garment hanging the way it's cut, and it gives a reference for scale. There's no need to cut it out or edit it away.
Can I choose a model who matches my customer?
Yes, and for a boutique that's the whole point. You set a face reference, so the person wearing the piece can look like who you actually sell to. That's why the knitwear and the blouses in this post are on different women.
Does this help with returns?
It addresses the gap that causes a lot of them. Fit and sizing account for roughly half of apparel returns, and a hanger shot tells a shopper nearly nothing about how a piece falls or where it lands. Seeing it on a body from several angles gives them more to judge before they buy.
I carry lots of brands. Will my catalog still look consistent?
That's one of the bigger wins. A multi-brand rail photographed over months in different corners of the shop looks like a jumble. Running every piece through the same background and model settings makes it read as one collection.
How many images do I get from one hanger shot?
Ten, across 16+ pose angles — front, three-quarter, back, side, seated, plus garment-focus and detail frames. The knitwear example above shows a full run, including the clean garment-only shot and the close-up of the cable texture.
Take the rail off the wall.
Install MODA AI from the Shopify App Store. Two free credits, no card. Upload a hanger shot and see the piece on someone.
Get Started FreeOr read what Shopify merchants say — reviews on the Shopify App Store →