How-To · Tech Packs & Renders
Turn Tech Pack Sketches Into On-Model Catalog Shots
For the first few months of a garment’s life, the only visual you own is a drawing. Here’s how to photograph it anyway.
July 25, 2026 · 10 min read
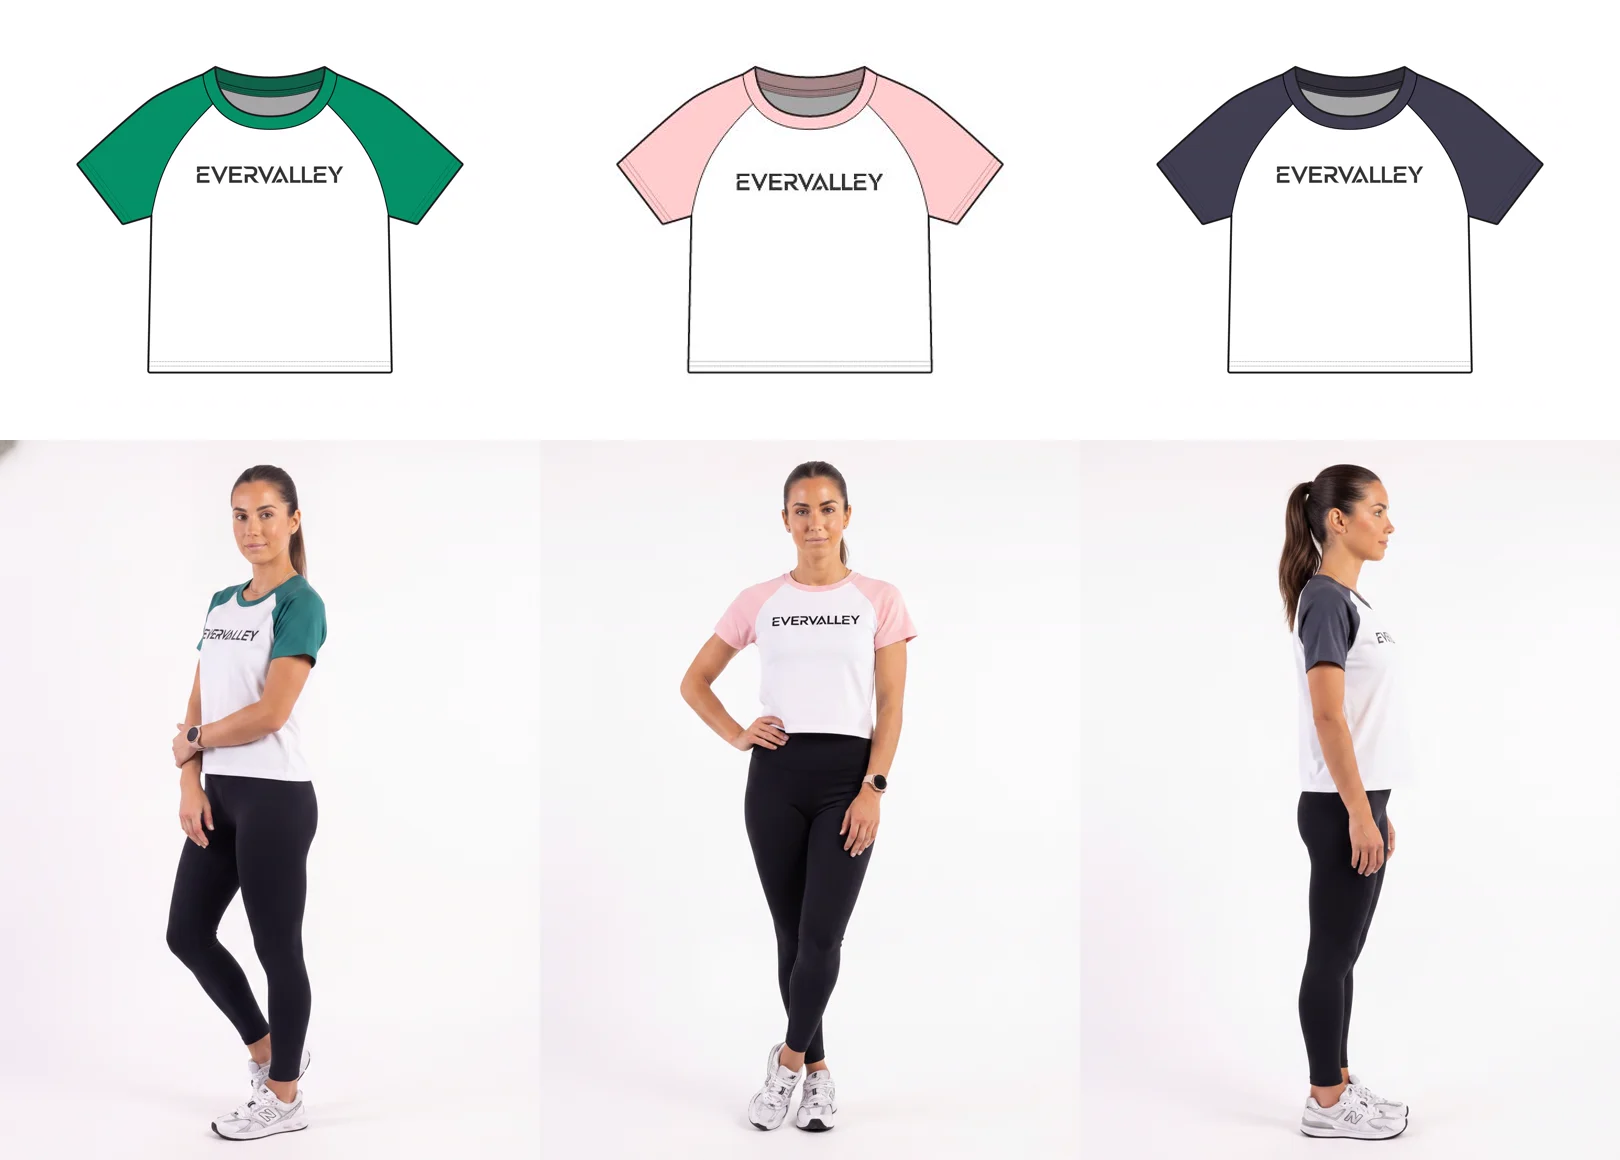
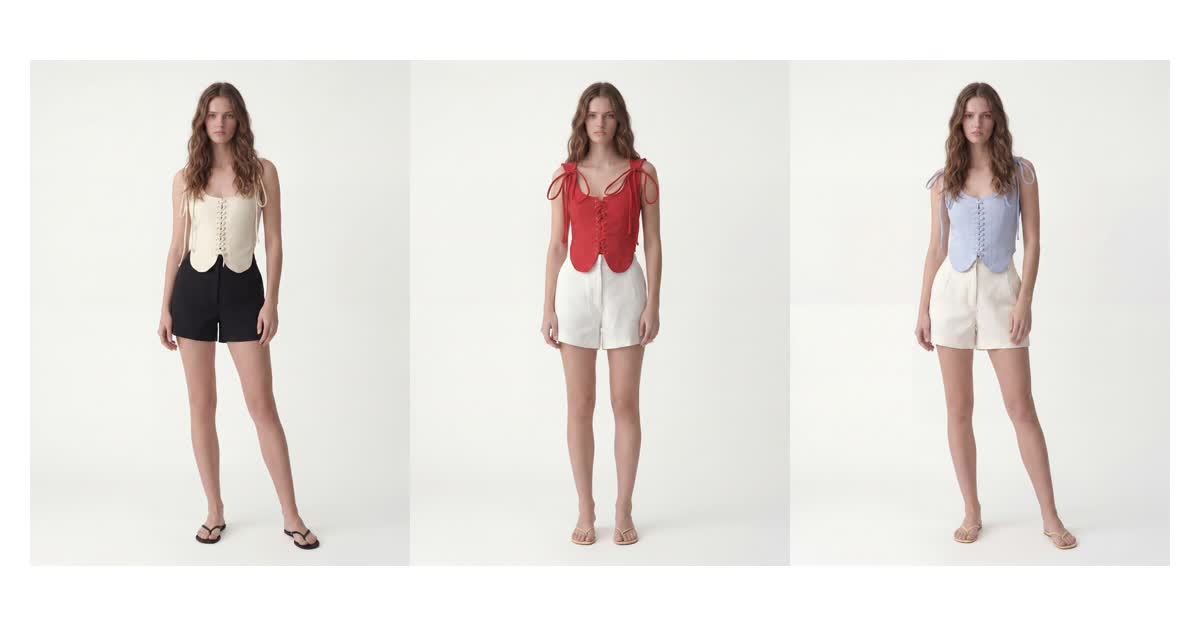
Above: the tech pack drawings. Below: the same three, photographed on a model in one studio. No sample was ever cut.
8–16
weeks from design to a production-ready garment, before any shoot
Apex Fashion Lab
30–60%
fewer physical samples already, thanks to 3D virtual sampling
Apex Fashion Lab
~$1
per 10-shot set, generated straight from the drawing
The Months When All You Have Is a Drawing
Every garment starts as a technical flat: the line drawing in your tech pack that tells the factory where the seams go, how the sleeves are cut, and where the logo sits. It is a precise document and a terrible marketing asset. You cannot put a CAD sketch on a product page.
Getting from that drawing to something you can photograph takes months. Apex Fashion Lab puts the full run — tech pack, sourcing, proto sample, fit corrections, pre-production sample, approval — at eight to sixteen weeks. The shoot happens after that. So for a quarter of the year the design exists, the costing exists, the factory slot exists, and the only picture you own is a drawing.
The industry already decided digital assets are good enough to make decisions from: 3D virtual sampling in tools like CLO3D and Browzwear has cut physical samples by 30 to 60 percent and saves $500 to $5,000 a collection. But a flat still reads as a flat, and a render still reads as a render. Neither looks like a photograph of a person wearing your product. That last gap is the one MODA AI closes.
The Input
A Flat Sketch Is Enough to Start
The garment below is a raglan tee from an activewear label: white body, contrast sleeves, a wordmark across the chest, and nothing on the back. Front and back flats are all that went in. No sample was cut, no fabric was sourced, nobody stood in front of a camera.
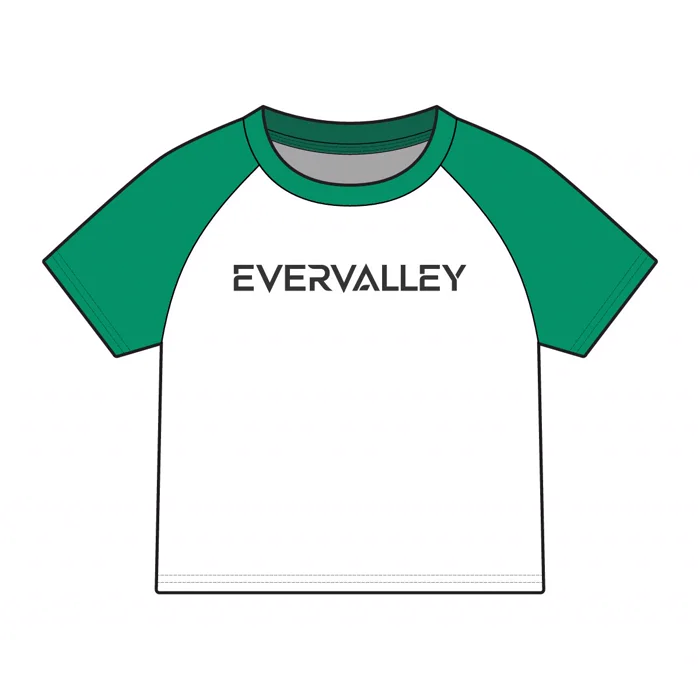
Front flat
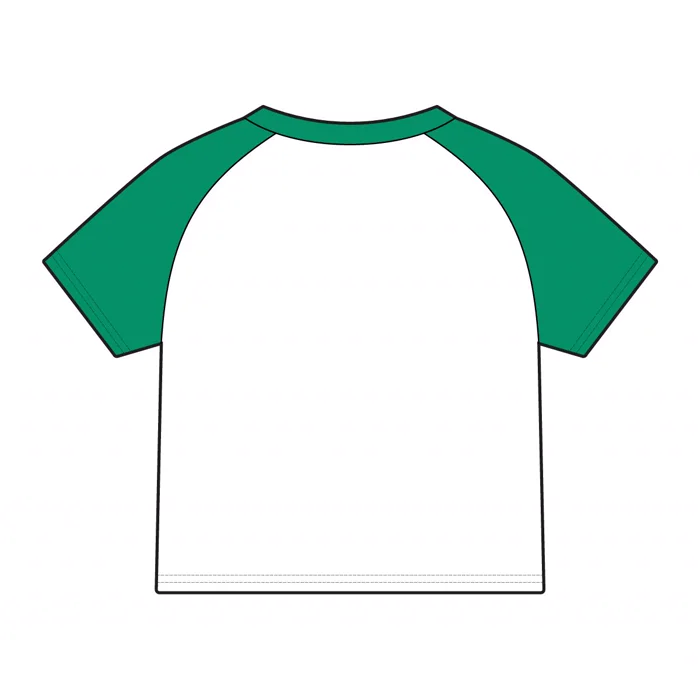
Back flat
The tech pack drawing, exactly as the designer drew it. This is the whole input.
2D flats are the common case, but the same works for CAD line drawings, colored-up flats, and 3D garment renders exported from CLO3D or Browzwear. What matters is that the construction reads clearly in the drawing: seam lines, sleeve cut, color blocking, and where the graphic sits. Whatever is legible in the flat is what carries through.
Fidelity
The Logo Holds Its Place, Its Scale, and Its Shape
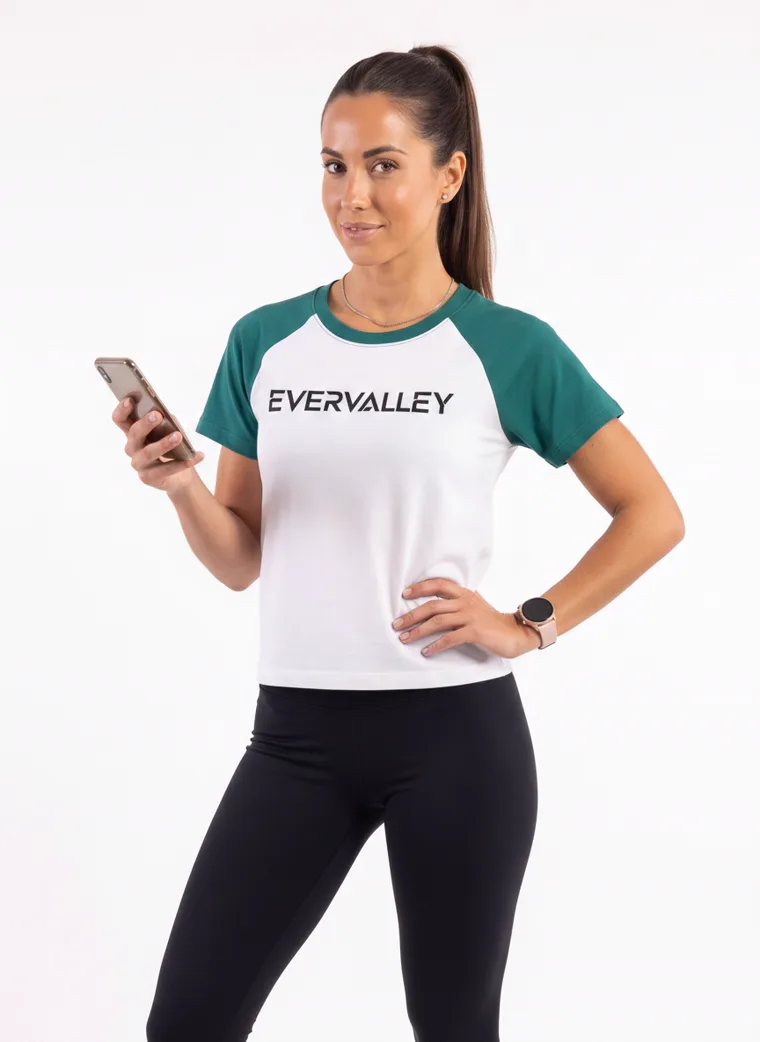
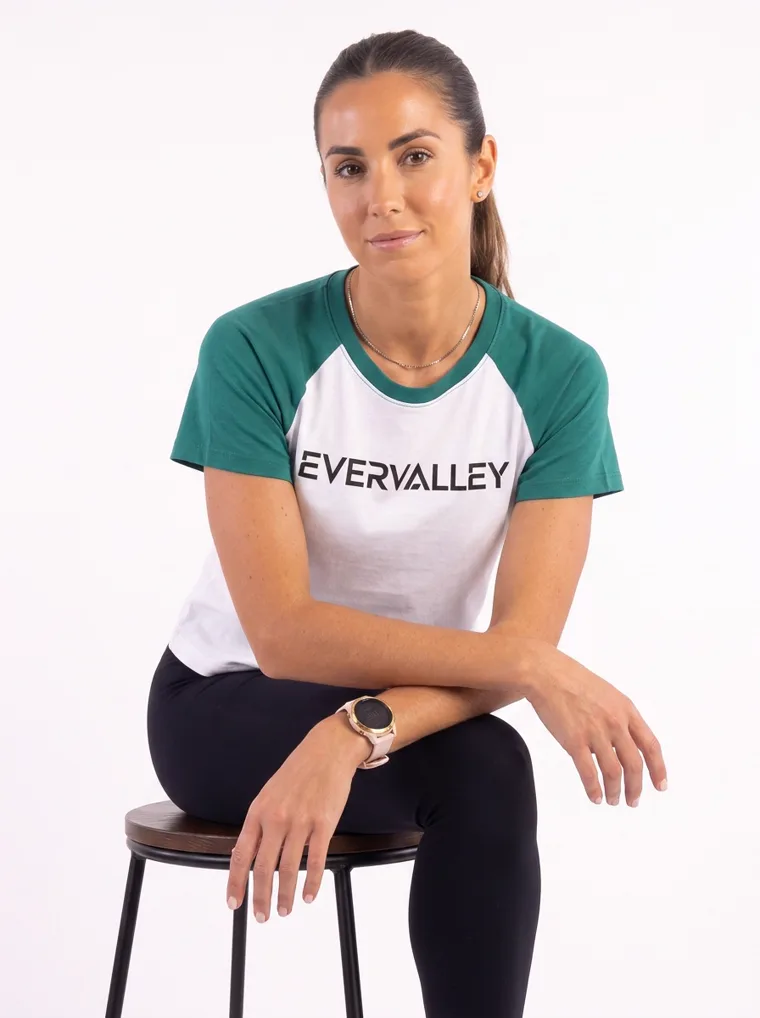
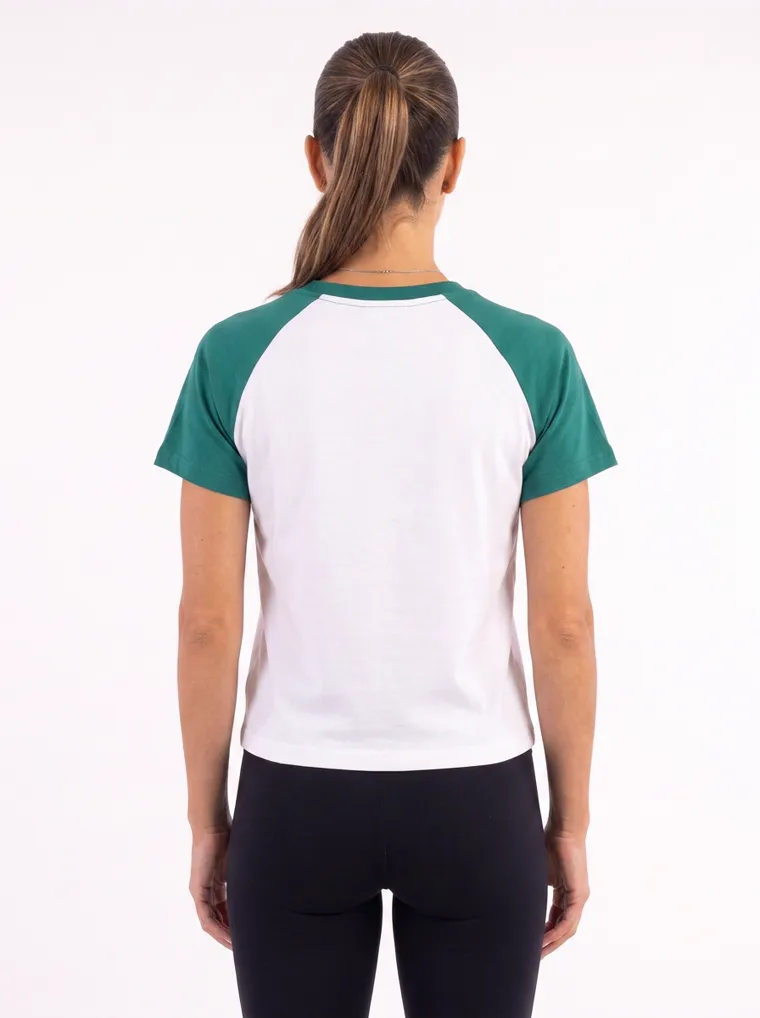
This is the part that decides whether a drawing-to-photo workflow is usable or a novelty. A wordmark has to land in the right spot, at the right size relative to the body, and then behave like it is printed on fabric rather than pasted on glass. Across the frames below the mark sits where the flat put it, foreshortens as the model turns, and curves with the chest when she sits down.
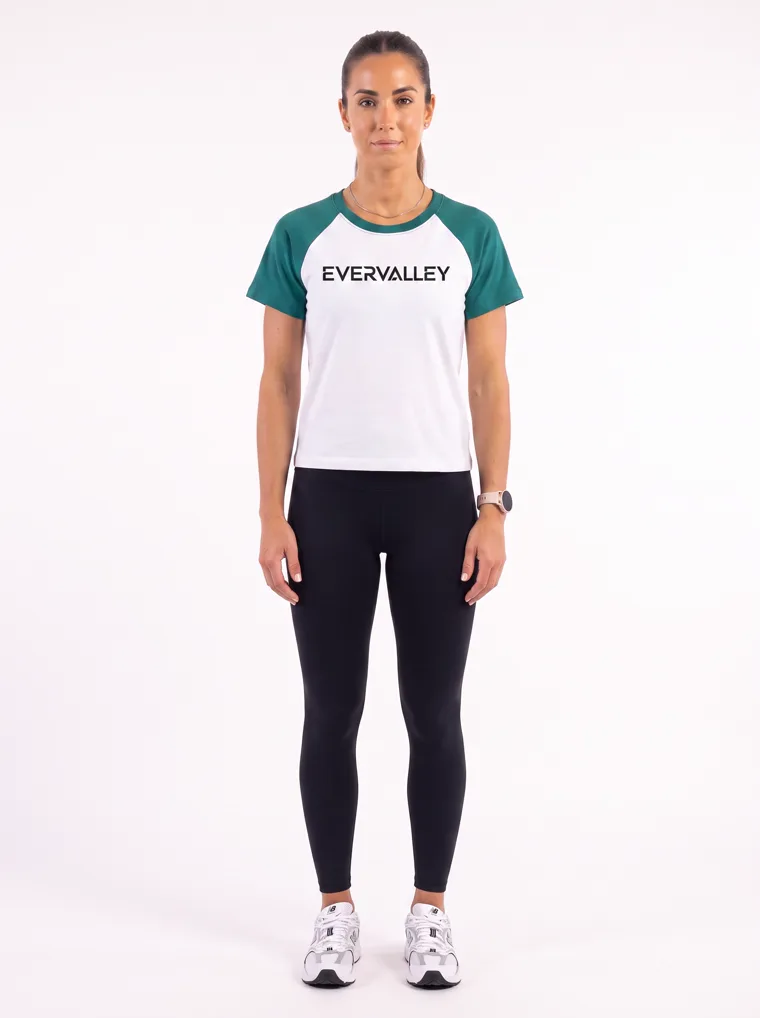
Straight on
Turned
Seated
Back
Placement, scale, foreshortening — and a blank back, because the back flat is blank.
The back frame is the one worth staring at. The back flat has no graphic on it, and the output has no graphic on it. A tool that guesses would have wrapped the logo around to the back or invented a neck-line print; this one read the spec. The raglan seam from neck to underarm and the sleeve color blocking come through the same way. For a deeper look at how prints and logos survive generation, and where tools fail them, see the logo reproduction guide.
The Set
One Sketch, a Full Catalog Shot List
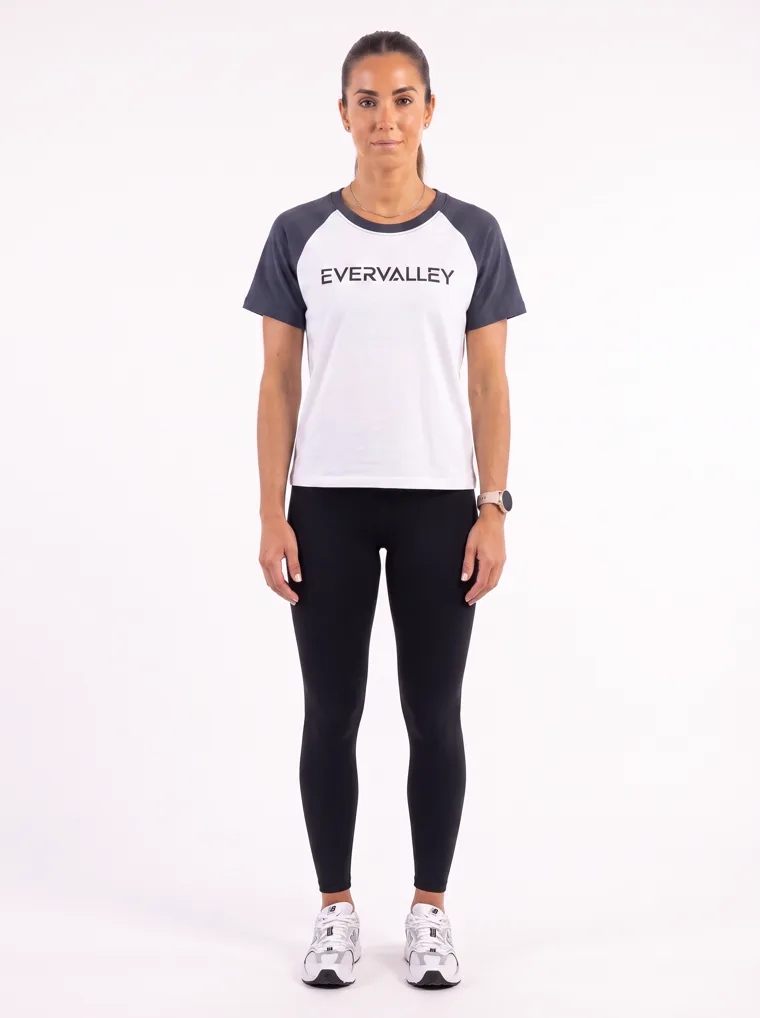
A product page needs more than a hero image. From the single flat, the run returns the catalog shot list a PDP is built from — front, three-quarter, turned, back, seated, and side profile, all on the same model in the same studio. Here is the navy colorway’s complete set. This brand asked for six frames instead of the full ten, because six covered what their product page needed.
Front
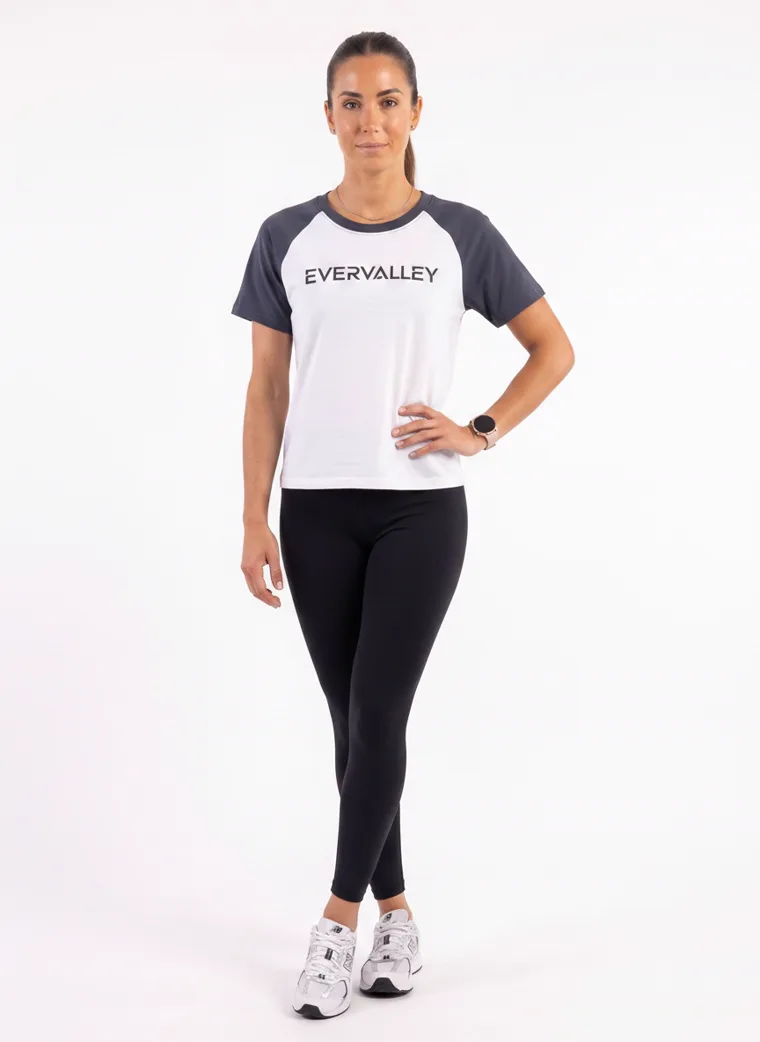
Three-quarter
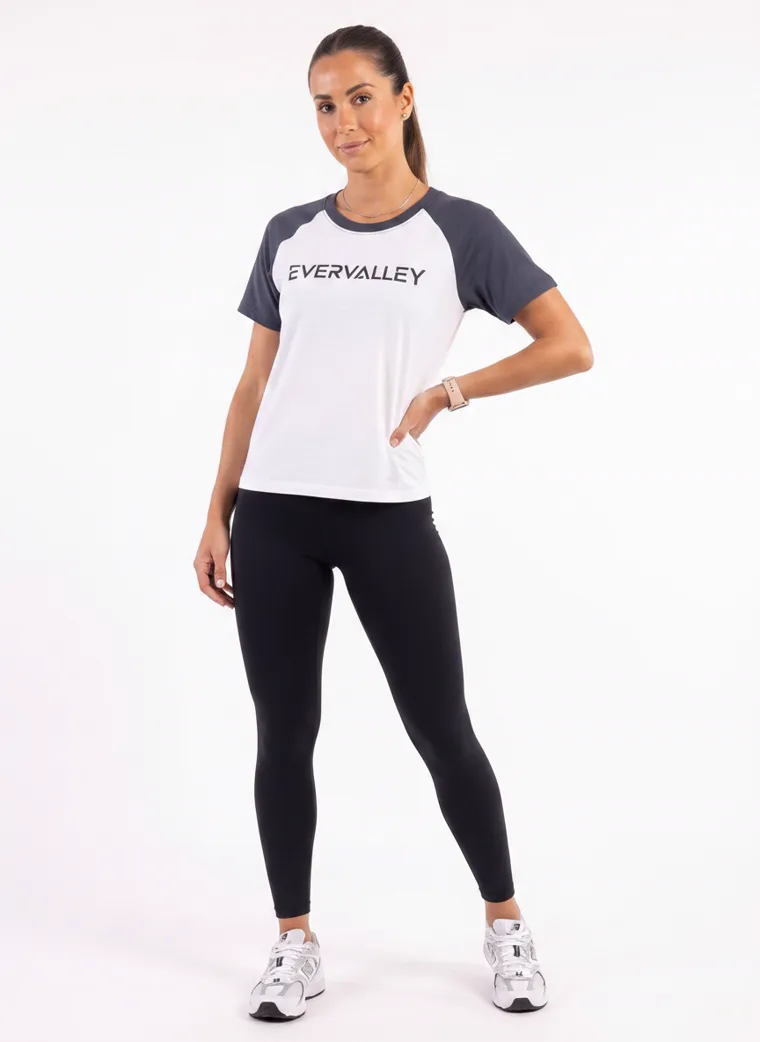
Turned
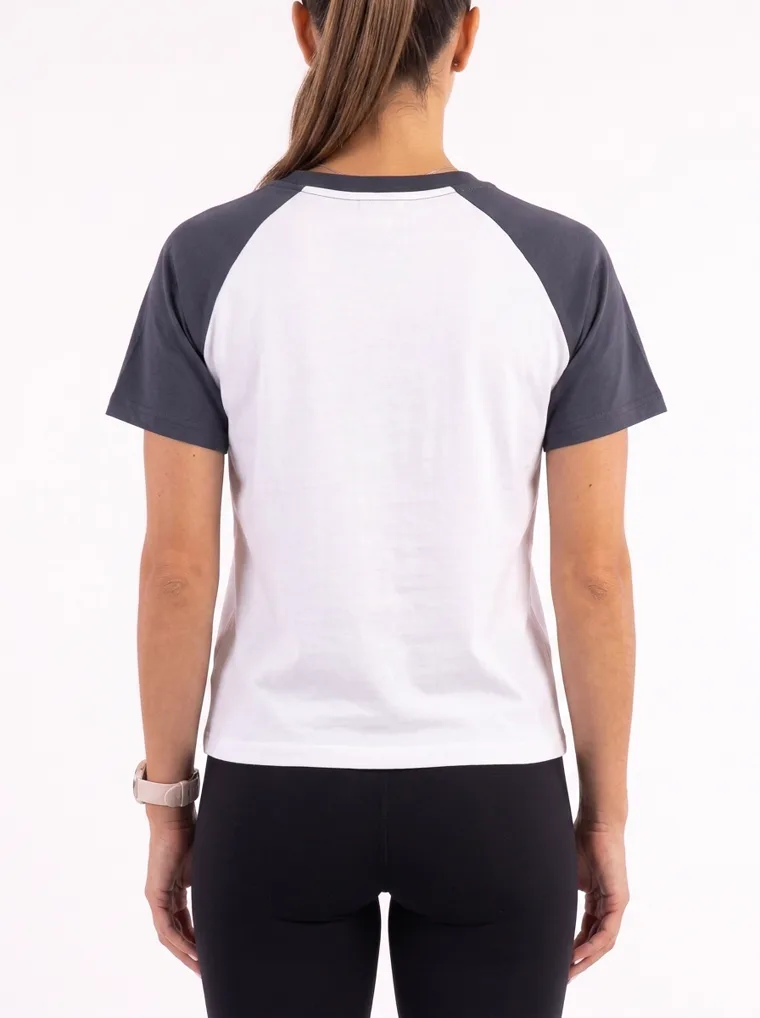
Back
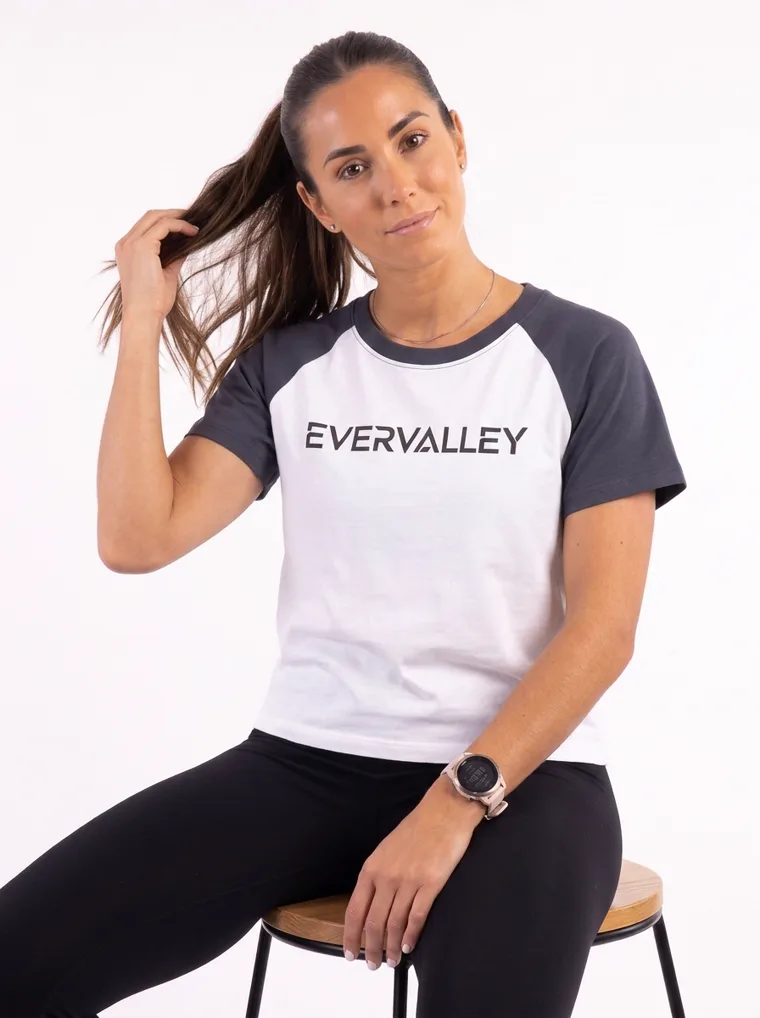
Seated
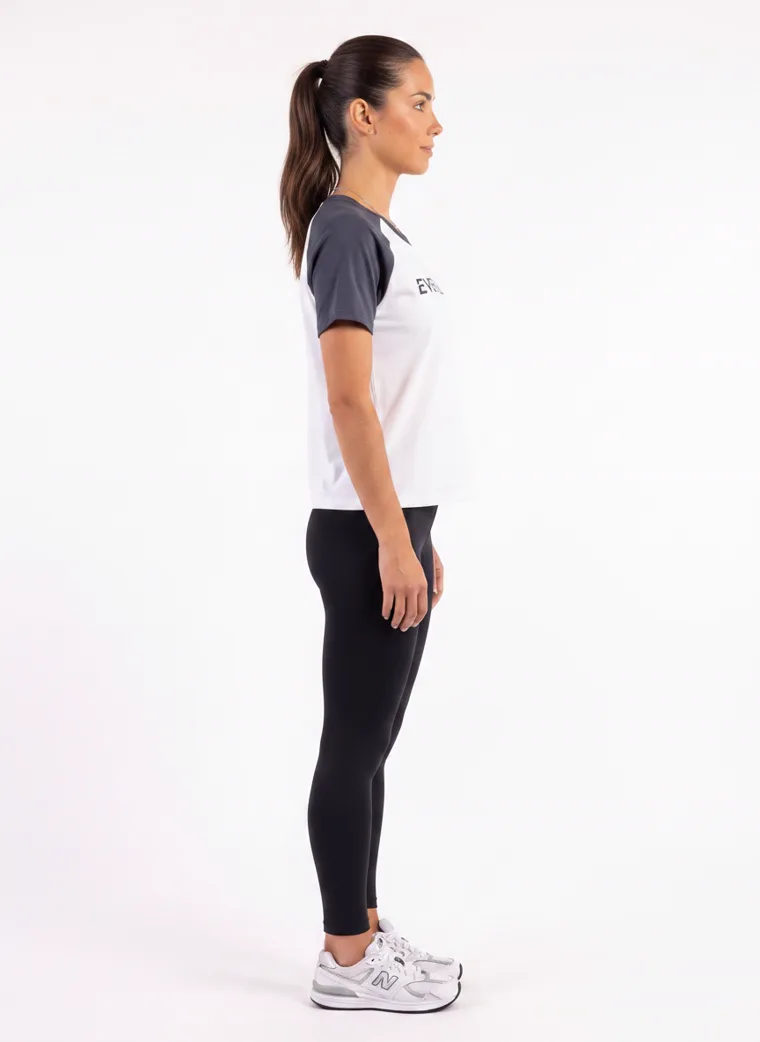
Side
Six frames from the navy colorway. A standard run returns ten across 16+ pose angles.
The Range Board
The Whole Colorway Range, Before the Whole Range Exists
Most brands sample one colorway and rely on it to sell the rest. Because every colorway runs through the same face and background reference, the full range comes back looking like one shoot. Below is the range as a development board: the flat that went in, the shot that came out, and three more angles behind it, for each colorway in the range.
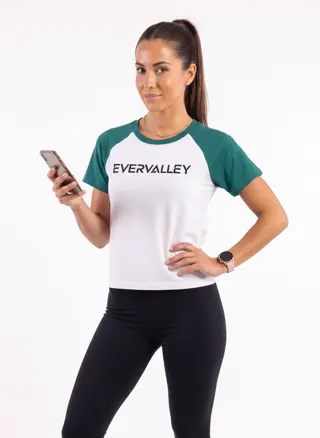
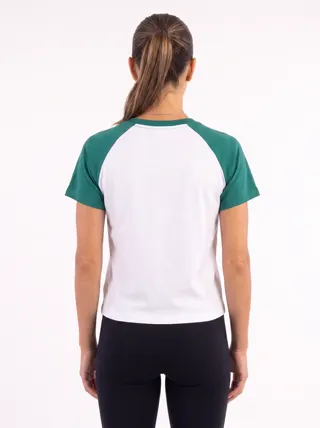
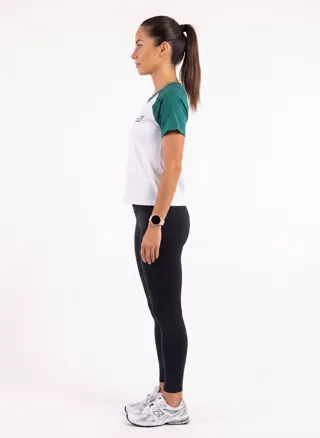
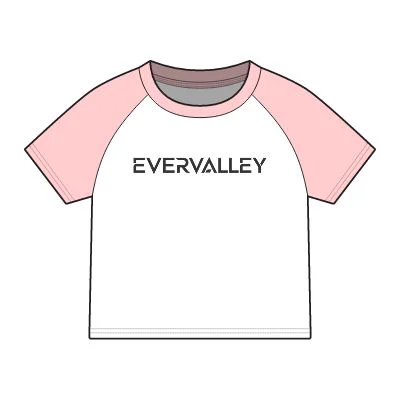
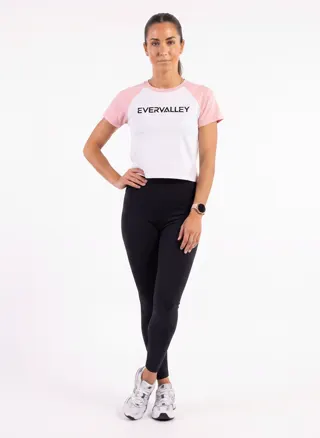
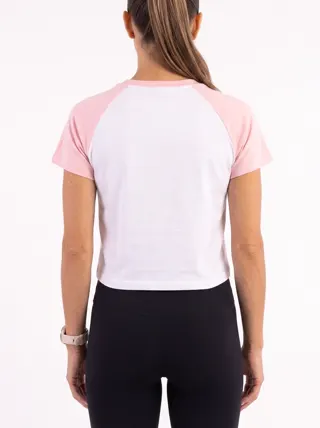
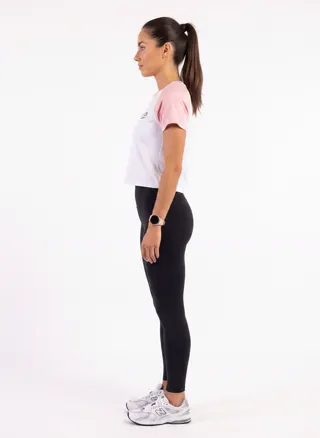
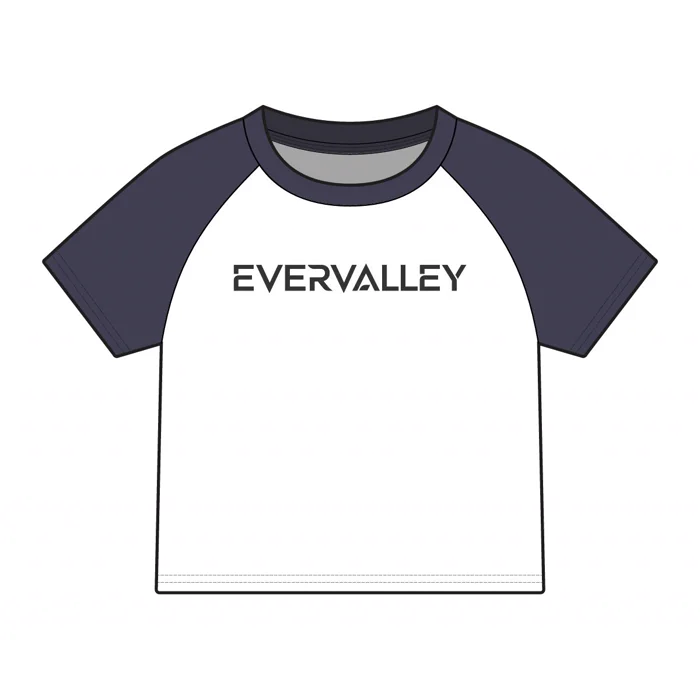
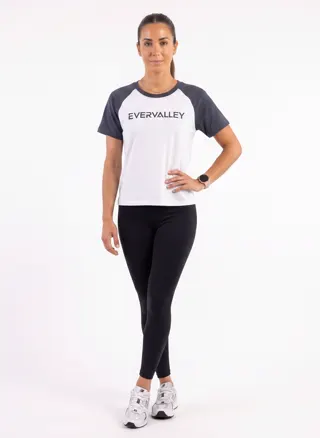
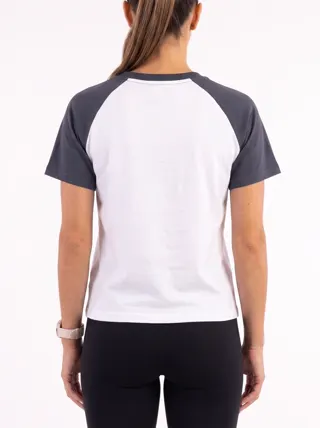
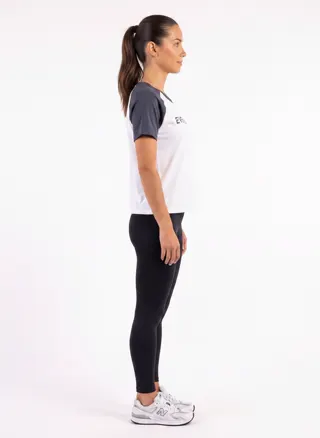
Illustration only. MODA AI generates the imagery; the greyed fields — fabric, size run, style data — stay yours to fill in.
Pre-Production
What the Weeks You Get Back Are Worth
Having catalog imagery months early changes the order you can do things in. Brands use it to open pre-orders and take deposits before stock lands, to put real-looking product in a buyer or retail deck instead of a line drawing, and to start building content while the factory is still cutting. It also settles arguments: seeing a colorway on a body is a faster way to decide whether it earns a place in the range than staring at a swatch.
The colorway case is the practical one. Sampling every color in the range means a set of fabric and a sew-down for each one, then a shoot. One sample plus the flats gets you the full range on the site, and the colorway that actually sells can be the one you commit fabric to.
What this does not do
It does not replace your sampling process. A generated image cannot tell you that the jersey feels like sandpaper, that the raglan seam rubs, or that the size 12 pulls across the shoulder. Fit, drape, and hand-feel are decided on a physical proto and a pre-production sample, and you should still touch the garment before bulk. This buys you the imagery early, not the sign-off.
Waiting for the Sample vs. Shooting the Flat
The sampling process runs either way. The question is whether your imagery waits for it.
| Wait for the sample | Shoot the flat | |
|---|---|---|
| Imagery available | After sampling and a shoot | From the tech pack, in minutes |
| What you need | Fabric, a sewn sample, a studio | The front and back flat |
| Colorways shown | The ones you sampled | Every colorway in the range |
| Pre-orders and decks | Line drawings until stock lands | Catalog imagery from day one |
| Fit and hand-feel | Judged on the physical sample | Still judged on the physical sample |
| Cost per style | Sample, model, photographer, studio | About $1 per 10-shot set |
The Range
The Rest of the Range, Same Studio
The other colorways, generated the same way from the same set of flats. Different colors, one model, one setting, one look.
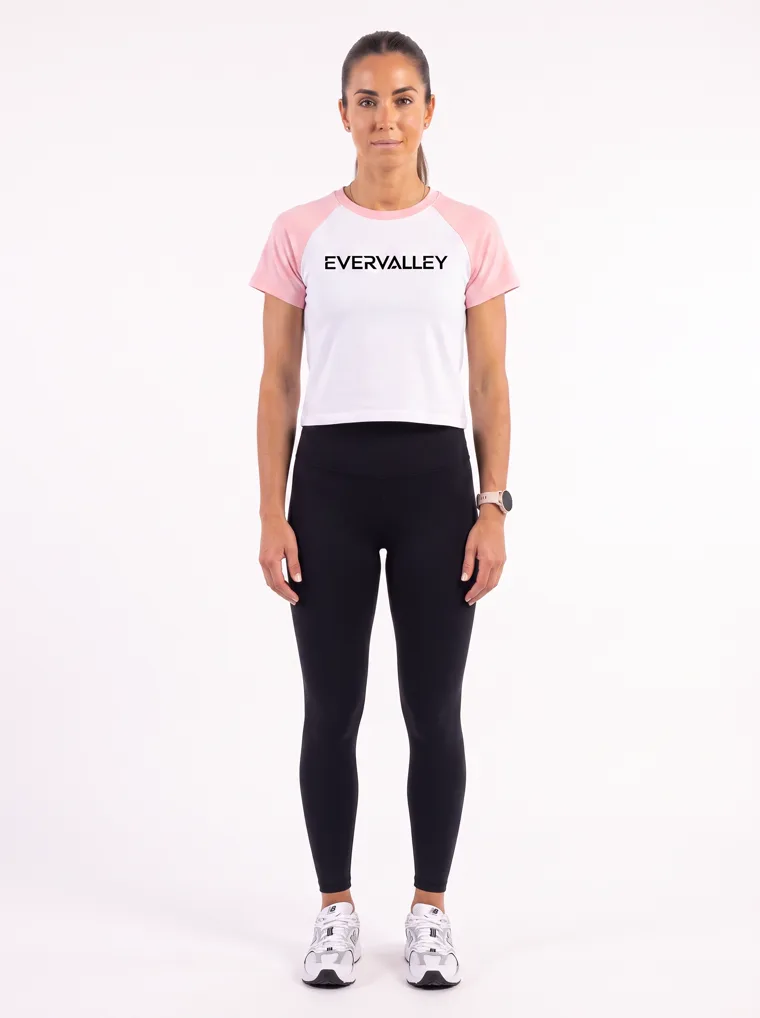
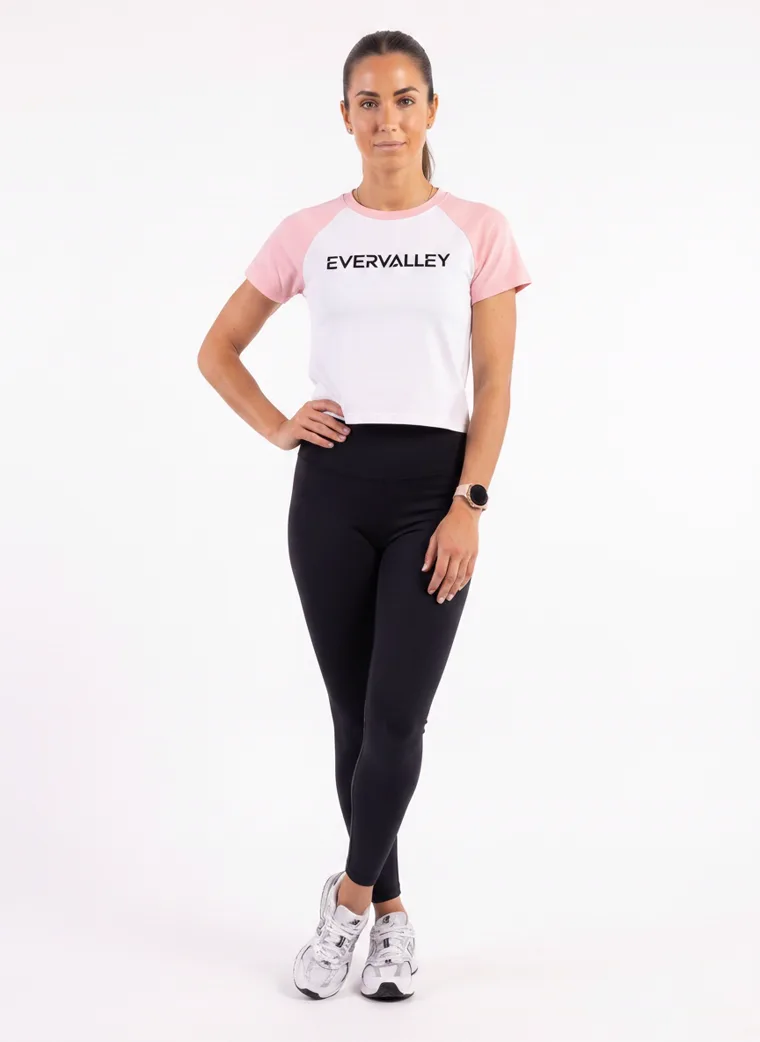
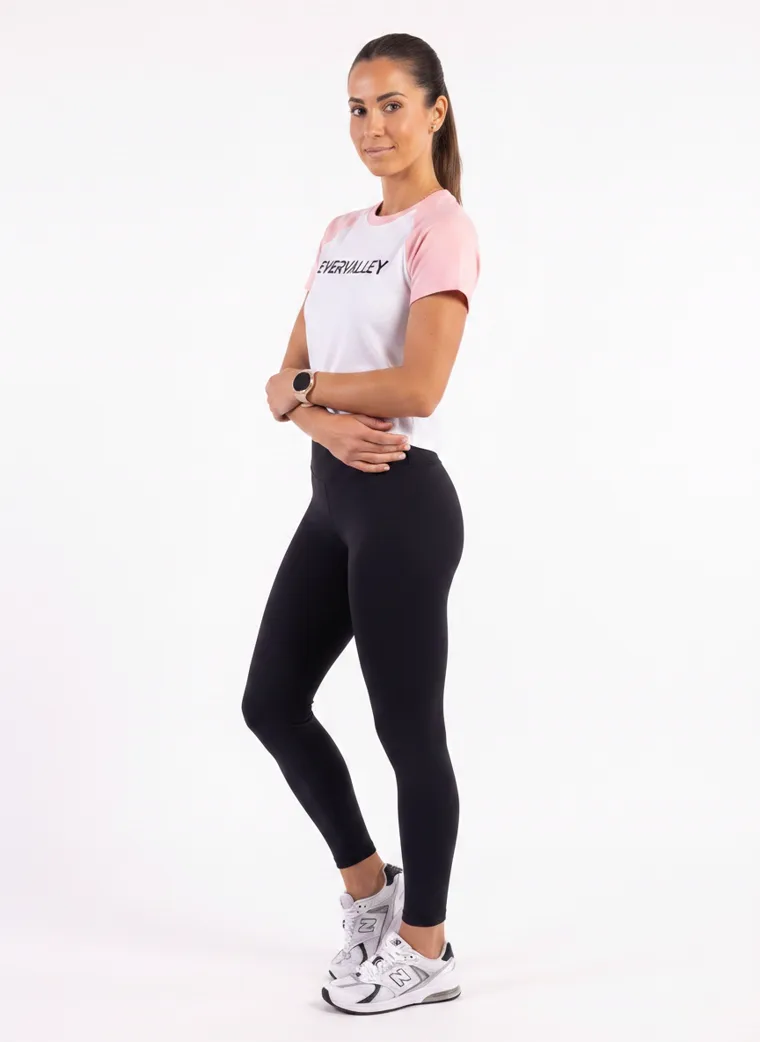
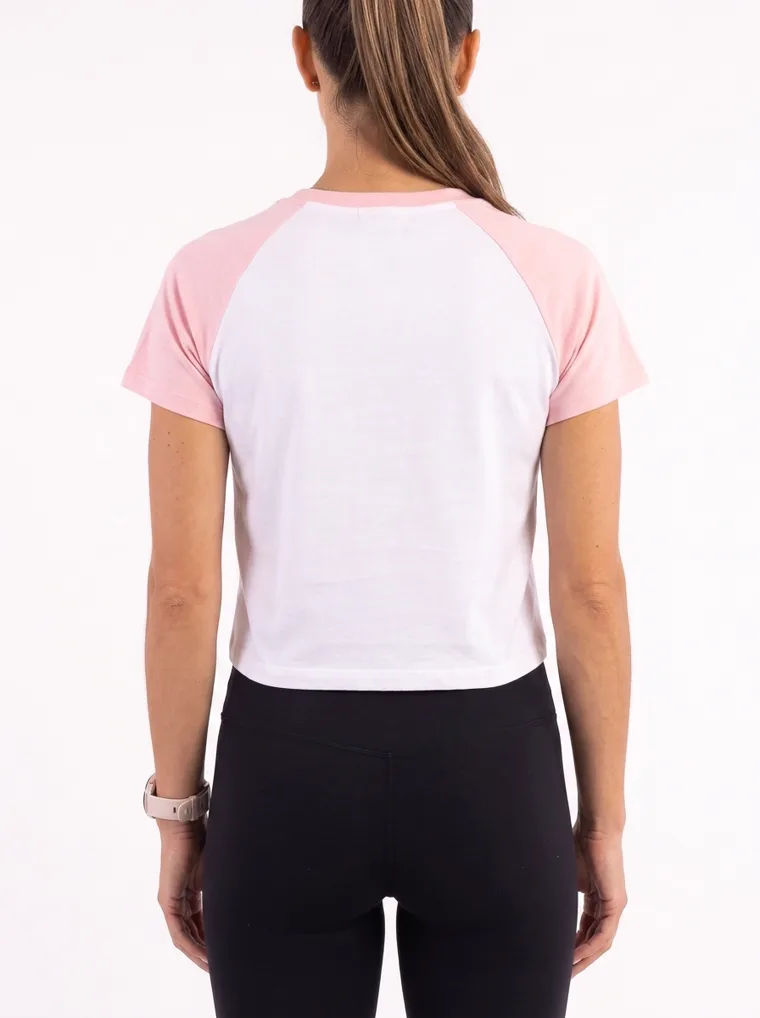
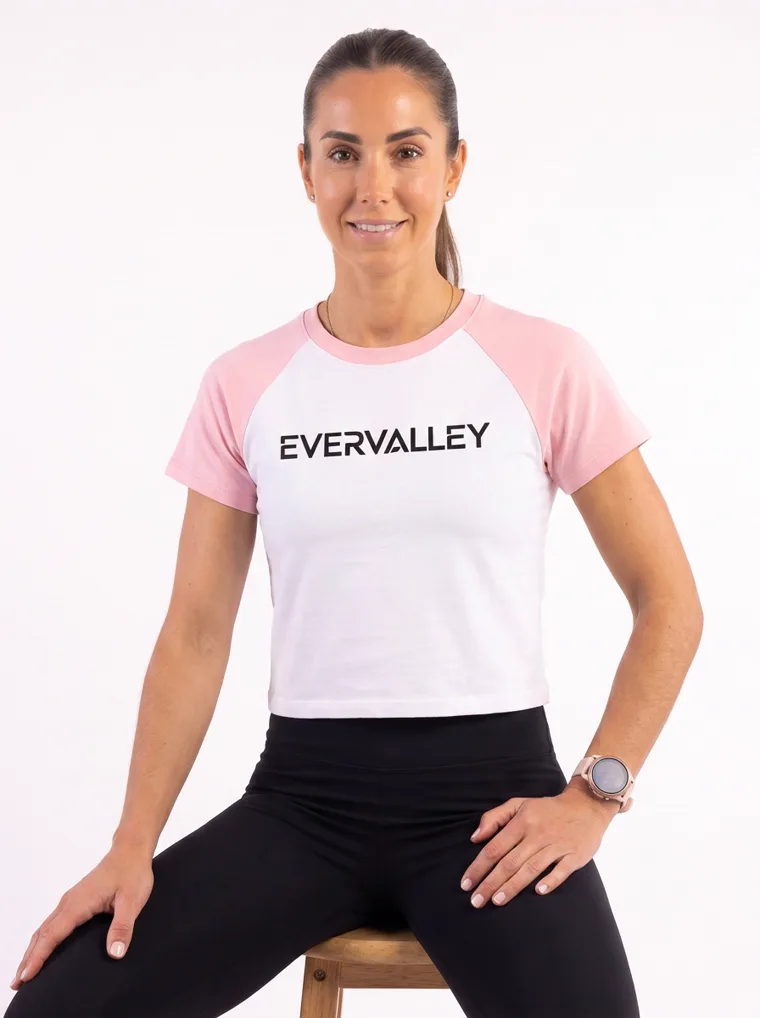
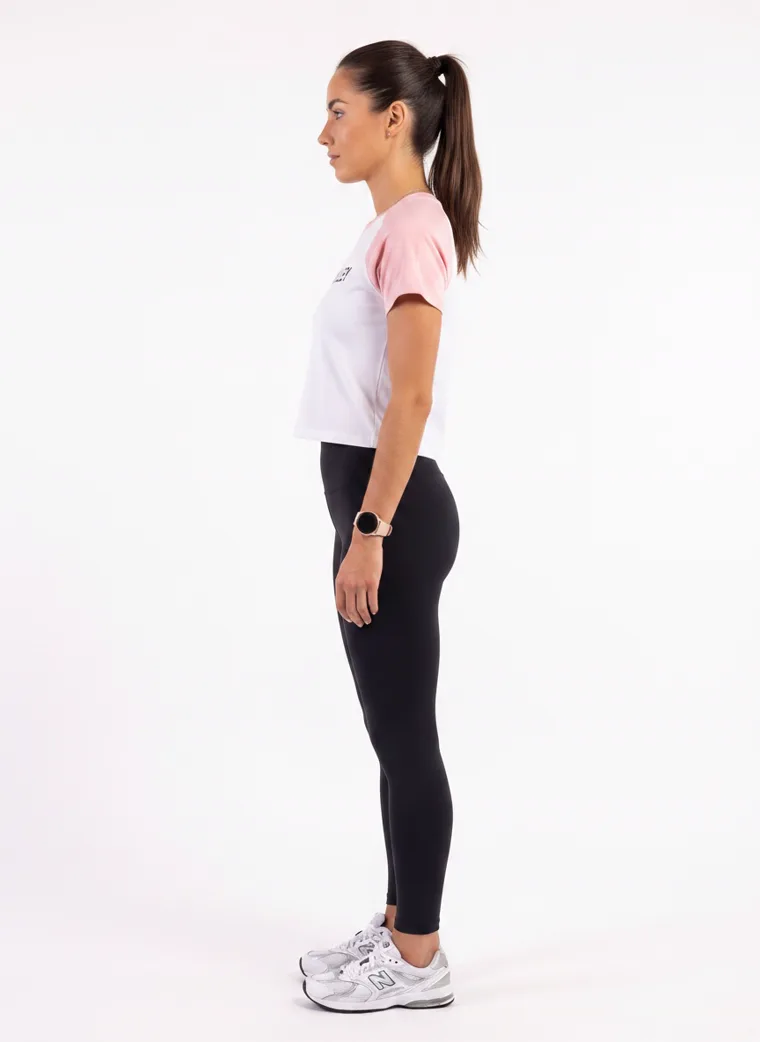
The blush colorway, all six frames. Every one of them started as the same line drawing.
Frequently Asked Questions
What kind of drawing or render can I use?
A technical flat from your tech pack, front and back. CAD line drawings, colored-up flats, and 2D or 3D renders from CLO3D or Browzwear all work too. The clearer the seams, sleeve cut, and color blocking read in the drawing, the more accurately they carry into the on-model shots.
Does the logo survive the jump from sketch to photo?
Yes. In this example the chest wordmark keeps its placement and scale, foreshortens in the three-quarter frames, and curves with the chest when the model sits. The back stays blank because the back flat is blank — it followed the spec rather than guessing.
Does this replace making a physical sample?
No, and it shouldn't. This produces imagery, not a fit or quality decision. You still need the proto and pre-production sample to judge fit, drape, and hand-feel before bulk. What it replaces is the wait for imagery — you can market and pre-sell while sampling runs in parallel.
Can I use these before the product is manufactured?
Brands do, for pre-orders, buyer decks, and campaign planning — but be straight with customers about it. These are AI-generated images of a design, not photographs of a manufactured unit, so what ships has to match what was shown. Our AI model disclosure guide covers how brands are labelling this and what the current rules require.
How many angles do I get from one sketch?
A run returns ten on-model images across 16+ pose angles: front, three-quarter, back, side, detail, and seated. The brand in this post asked for six rather than the full ten, because six covered what their product page needed.
Will every colorway look consistent?
Yes, if you set one face reference and one background reference and run each colorway through the same two. The colorways here came back on the same model, in the same studio, styled the same way, so the range reads as one collection.
Photograph the design, not the wait.
Install MODA AI from the Shopify App Store. Two free credits, no card. Upload your flat and see the range on a model.
Get Started FreeOr read what Shopify merchants say — reviews on the Shopify App Store →